DIY Bone Broth
Making broth and stock has become a forgotten art in most home kitchens nowadays. The norm is to just buy liquid or powdered stock to use in your soups, stews, and other dishes. But no artificial product can truly take the place, in both flavour and nutritional value, of a stock that has been made at home the traditional way.
When you’re ready to dive in and start making your own stock, the most important ingredient is of course the bones. You want to make sure that when looking for bones, you are using the freshest organic or natural bones you can find. Bones from any animal can be used in stock, whether it’s chicken, beef, wild game, or even fish. Each type of bone will be treated a bit differently. For the sake of this article, we will talk about beef and chicken broth.
The base of any stock is going to have the same ingredients, and then the cooking time will vary. You will always want to add some mirepoix (carrots, celery, and onions) as well as a few other aromatics, such as thyme, parsley, garlic, bay leaves, and peppercorns. As well, add a touch of acidity, be it apple cider vinegar or lemons. There are a ton of other things that can be added for flavour. If you love mushrooms, add some to give it an earthier tone, or maybe you like it a bit spicy so a touch of jalapeño might be up your alley.
When choosing bones, you want to choose a locally sourced organic bone. For beef broth, I always choose a smaller bone that includes some of the knuckles. These seem to be higher in flavour and gelatin so you end up with a richer, thicker stock. When it comes to chicken, I purchase a couple of whole chickens and debone them myself. This may seem intimidating, but it is super simple. This link will walk you through the process: www.leaf.tv/articles/how-to-debone-a-whole-chicken. Once you have deboned the chicken, now you have bones for your broth as well as legs for soup, breasts for grilling, and wings for a late night snack.
Directions
- If using raw bones, place your bones on a sheet pan and roast them at 400°F until browned and crisp, about 15–20 min. If using cooked bones, skip to step #2.
- Once the bones are roasted, place in a large pot with all other ingredients and fill with water. You will want to use the biggest pot you have. During cooking you will lose some water to evaporation.
- Bring to a boil, and then reduce the heat to a light simmer. Over-boiling the broth will result in a cloudy broth, with lots of particulates in it, which you want to avoid.
- Simmer the broth for anywhere from 8 to 12 hours, or until the bones are easily breakable to the touch. The rule of any stock is the longer the better.
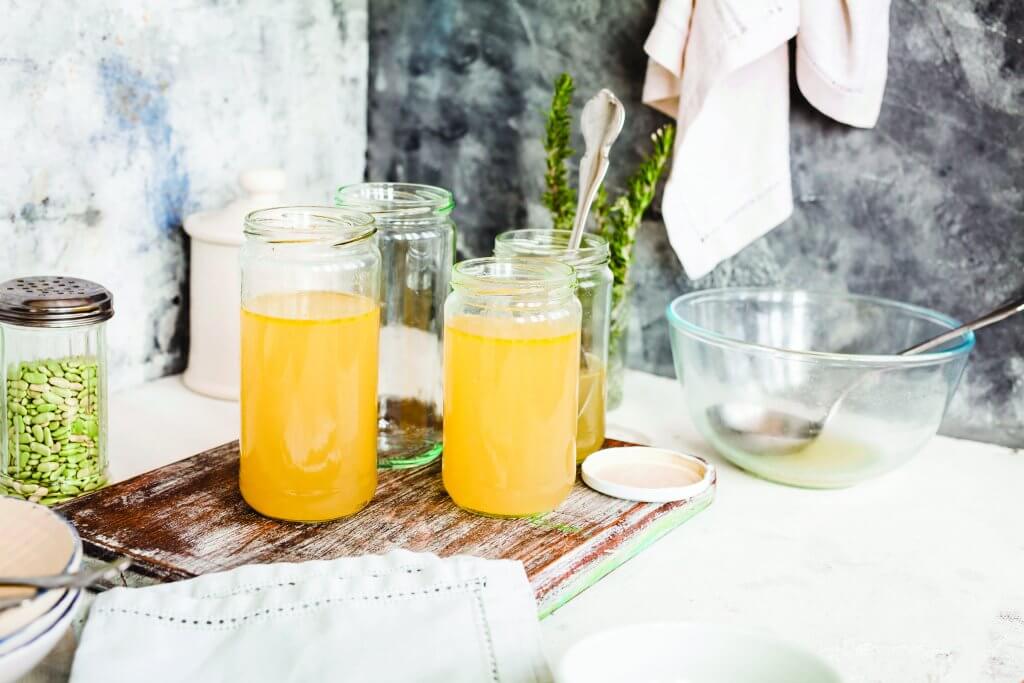
- Strain the stock using a fine sieve and reserve the liquid for use. The simmered bones and vegetables can be discarded.
Notes
After straining the stock, I like to put it back into a clean pot, bring it back to a simmer, and season lightly with salt to accentuate the flavour.
Before using the broth in a soup, stew, or just on its own as a hot beverage, I leave it in a container overnight. This lets any fats separate and become firm at the top. Once it has been cooled and the fat has settled, it is easier to remove from the broth.
Learn more about the health benefits of bone broth.
This recipe was published in The Good Life magazine.