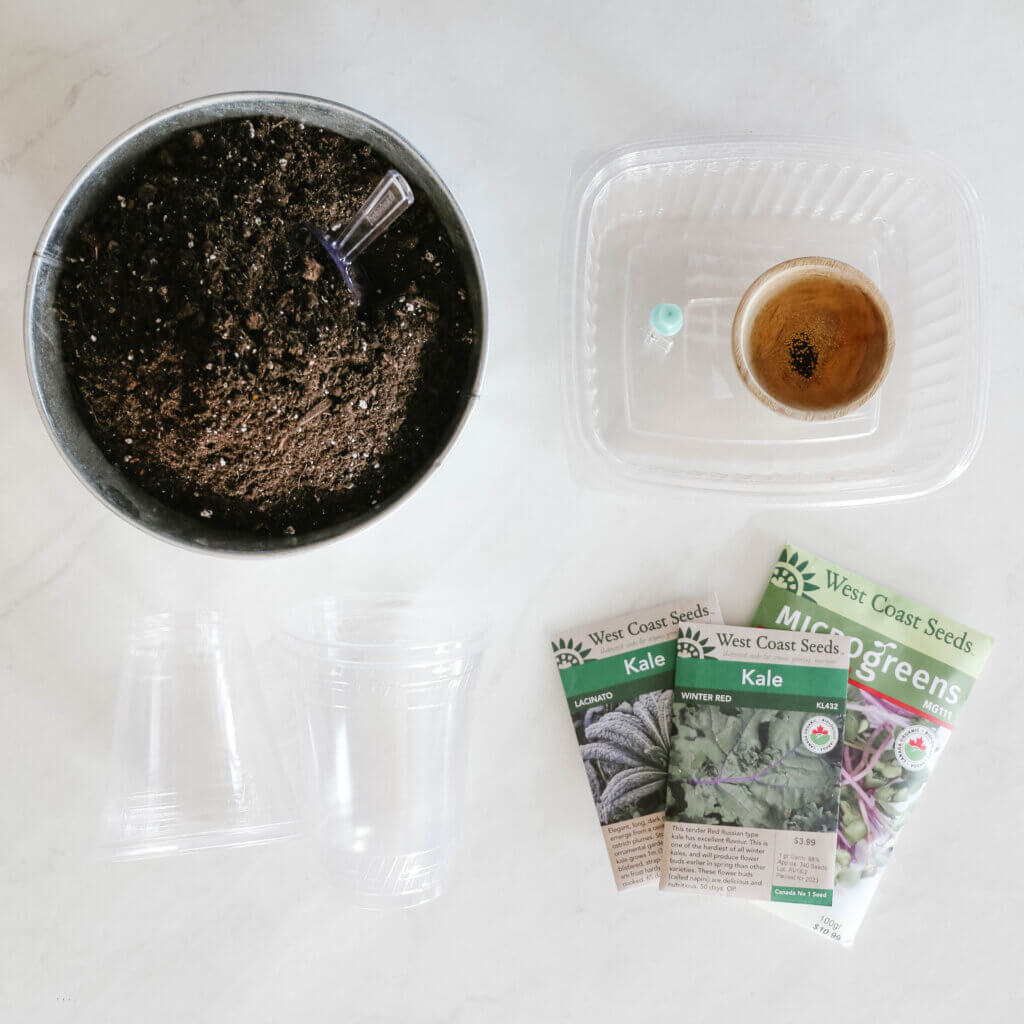
Spring is here and the increased daylight means it’s the perfect time of year to start an indoor container garden of fresh microgreens to use in the kitchen. You can use traditional planting containers, of course, but should you not have any on hand, bistro containers are perfect for growing microgreens! Plus, why not get some extra use out of them before sending them to the compost, right? This is a simple, satisfying planting project that comes together quickly and is great for getting kids involved in too!
- Prep Container
Rinse or wash your container with lukewarm water and dry. Do not use hot water as compostable containers will begin to break down with too much heat. Use a pushpin to poke a generous number of drainage holes in the bottom of the container, wiggling the pushpin slightly in each hole to expand the size of the hole a bit to ensure good flow of water. - Fill
Fill the container with a couple inches of soil and gently pat down evenly. Place the container onto a plant saucer or a shallow pan to catch excess water from watering. - Plant Seeds
Spread a generous layer of seeds over the surface of the soil. Lightly press the seeds into the soil using the palm of your hand. Choose either regular seeds or speciality microgreens seeds—both will work well. - Water
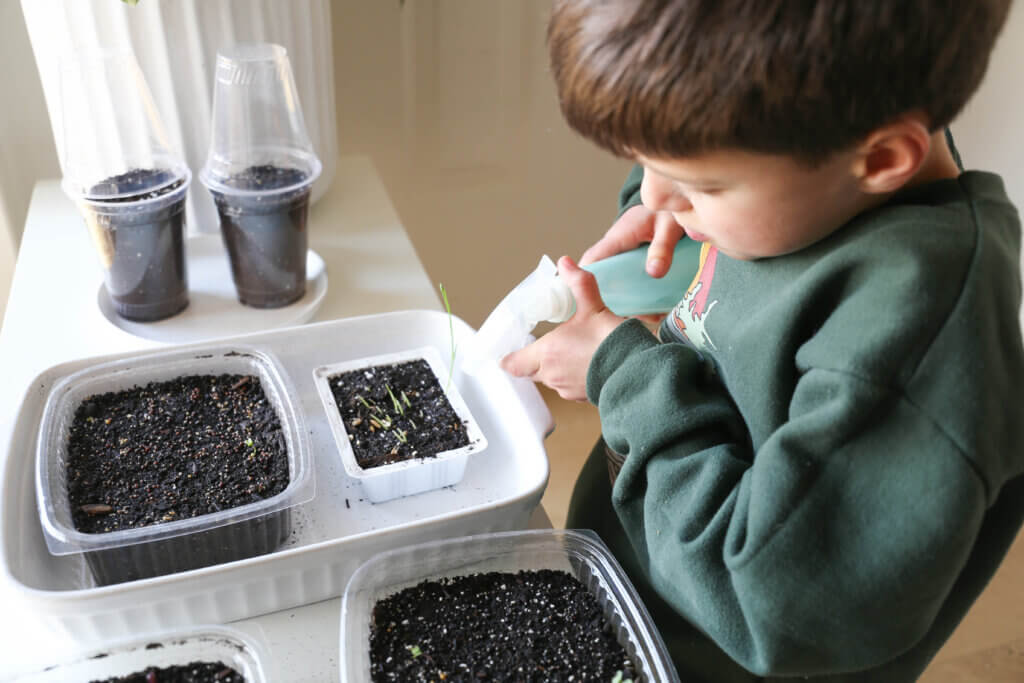
Generously water the seeds using either a spray bottle or by setting the containers in a shallow dish of water for a minute or two then remove and allow excess water to drain. - Give Sunlight
Find a warm, sunny spot for your container garden. The more sun, the better! - Mist
Keep your soil moist—but not wet—with regular misting.
Before long, seedlings will begin to appear! Keep misting daily as they grow. - Pick
When the microgreens are a decent size, they’re ready to harvest! Simply pull them from the soil—roots and all—or cut each stem above the soil line with scissors. Rinse any soil off and enjoy!
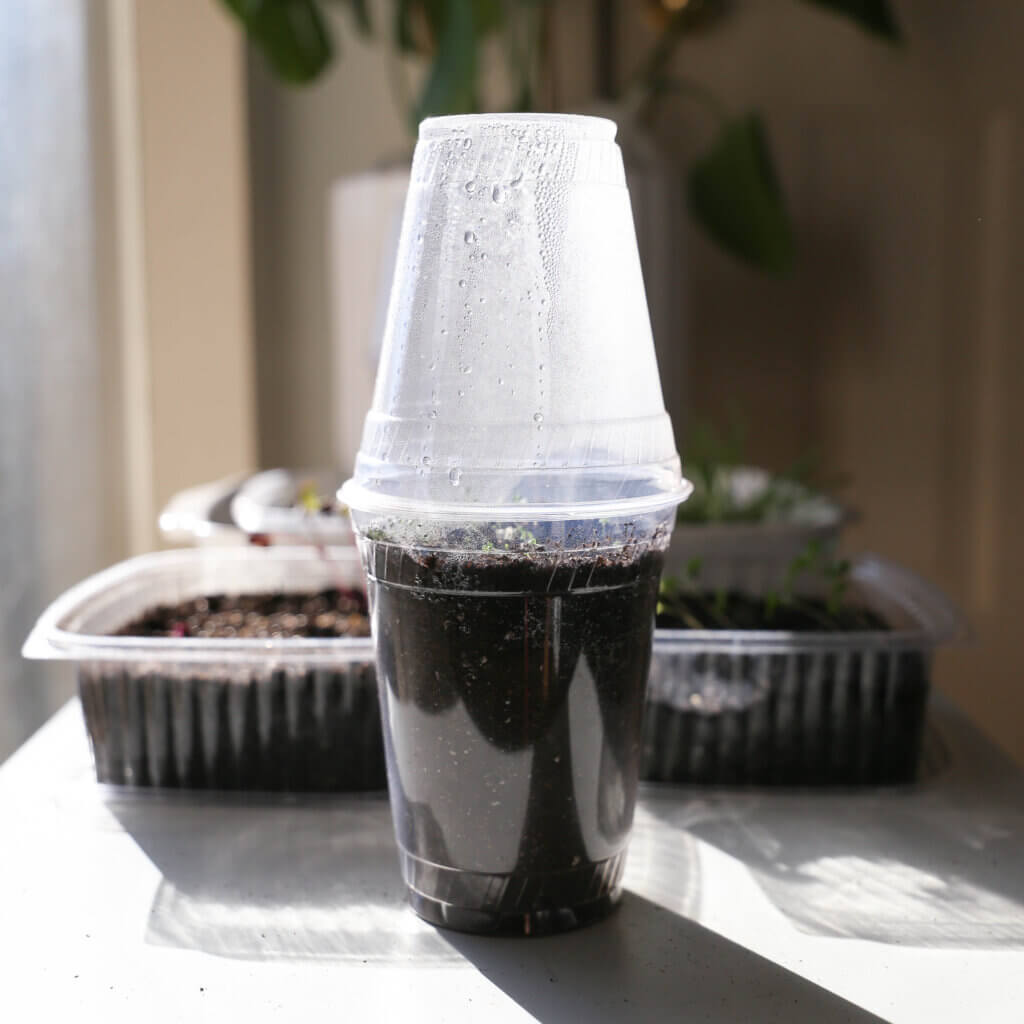
Mini Greenhouse
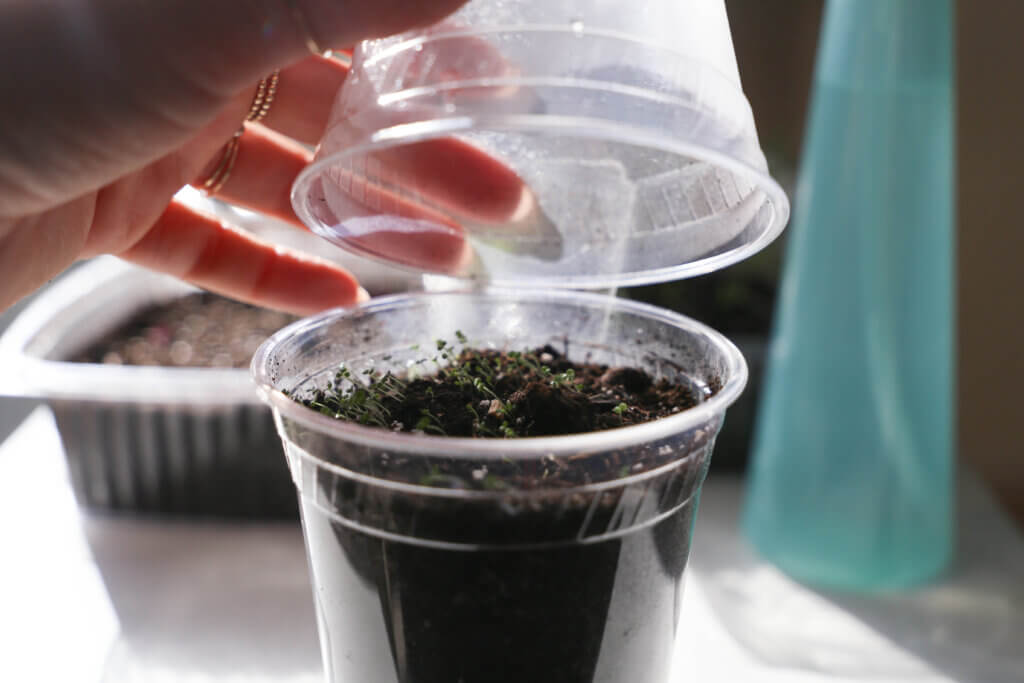
Here’s another fun way to repurpose take-away containers! Two take-away cups, stacked open ends together, make a great mini greenhouse! Poke holes in the bottom cup for drainage and use a piece of tape to hold the cups together if needed.
A mini greenhouse like this is best for growing fresh herbs as it has more space for root development. Keep the top cup on until sprouts appear, then feel free to remove it to allow room for growth.
Jen Kossowan is a kindergarten and grade one teacher and mama of two gorgeous kiddos. She’s passionate about play, loves a good DIY project, and can most often be found in her kitchen whipping up recipes that taste delicious while meeting her crunchy mama criteria. She started Mama.Papa.Bubba. on a whim in 2010 while living in the Middle East and has been sharing her recipes and activities there ever since.
Learn more: mamapapabubba.com | IG: @mamapapabubba