Ever wonder what to do with old T-shirts, especially ones that are stained or past the point of passing along? Turning them into T-shirt string is a fun and easy way to give them new life, and once made into string, T-shirt yarn can be used for all kinds of activities and creative projects!
T-Shirt String, Step By Step
The best string is made with 100% cotton (or at least mostly cotton) T-shirts. Check the tags when making your selection.
Remove Hem
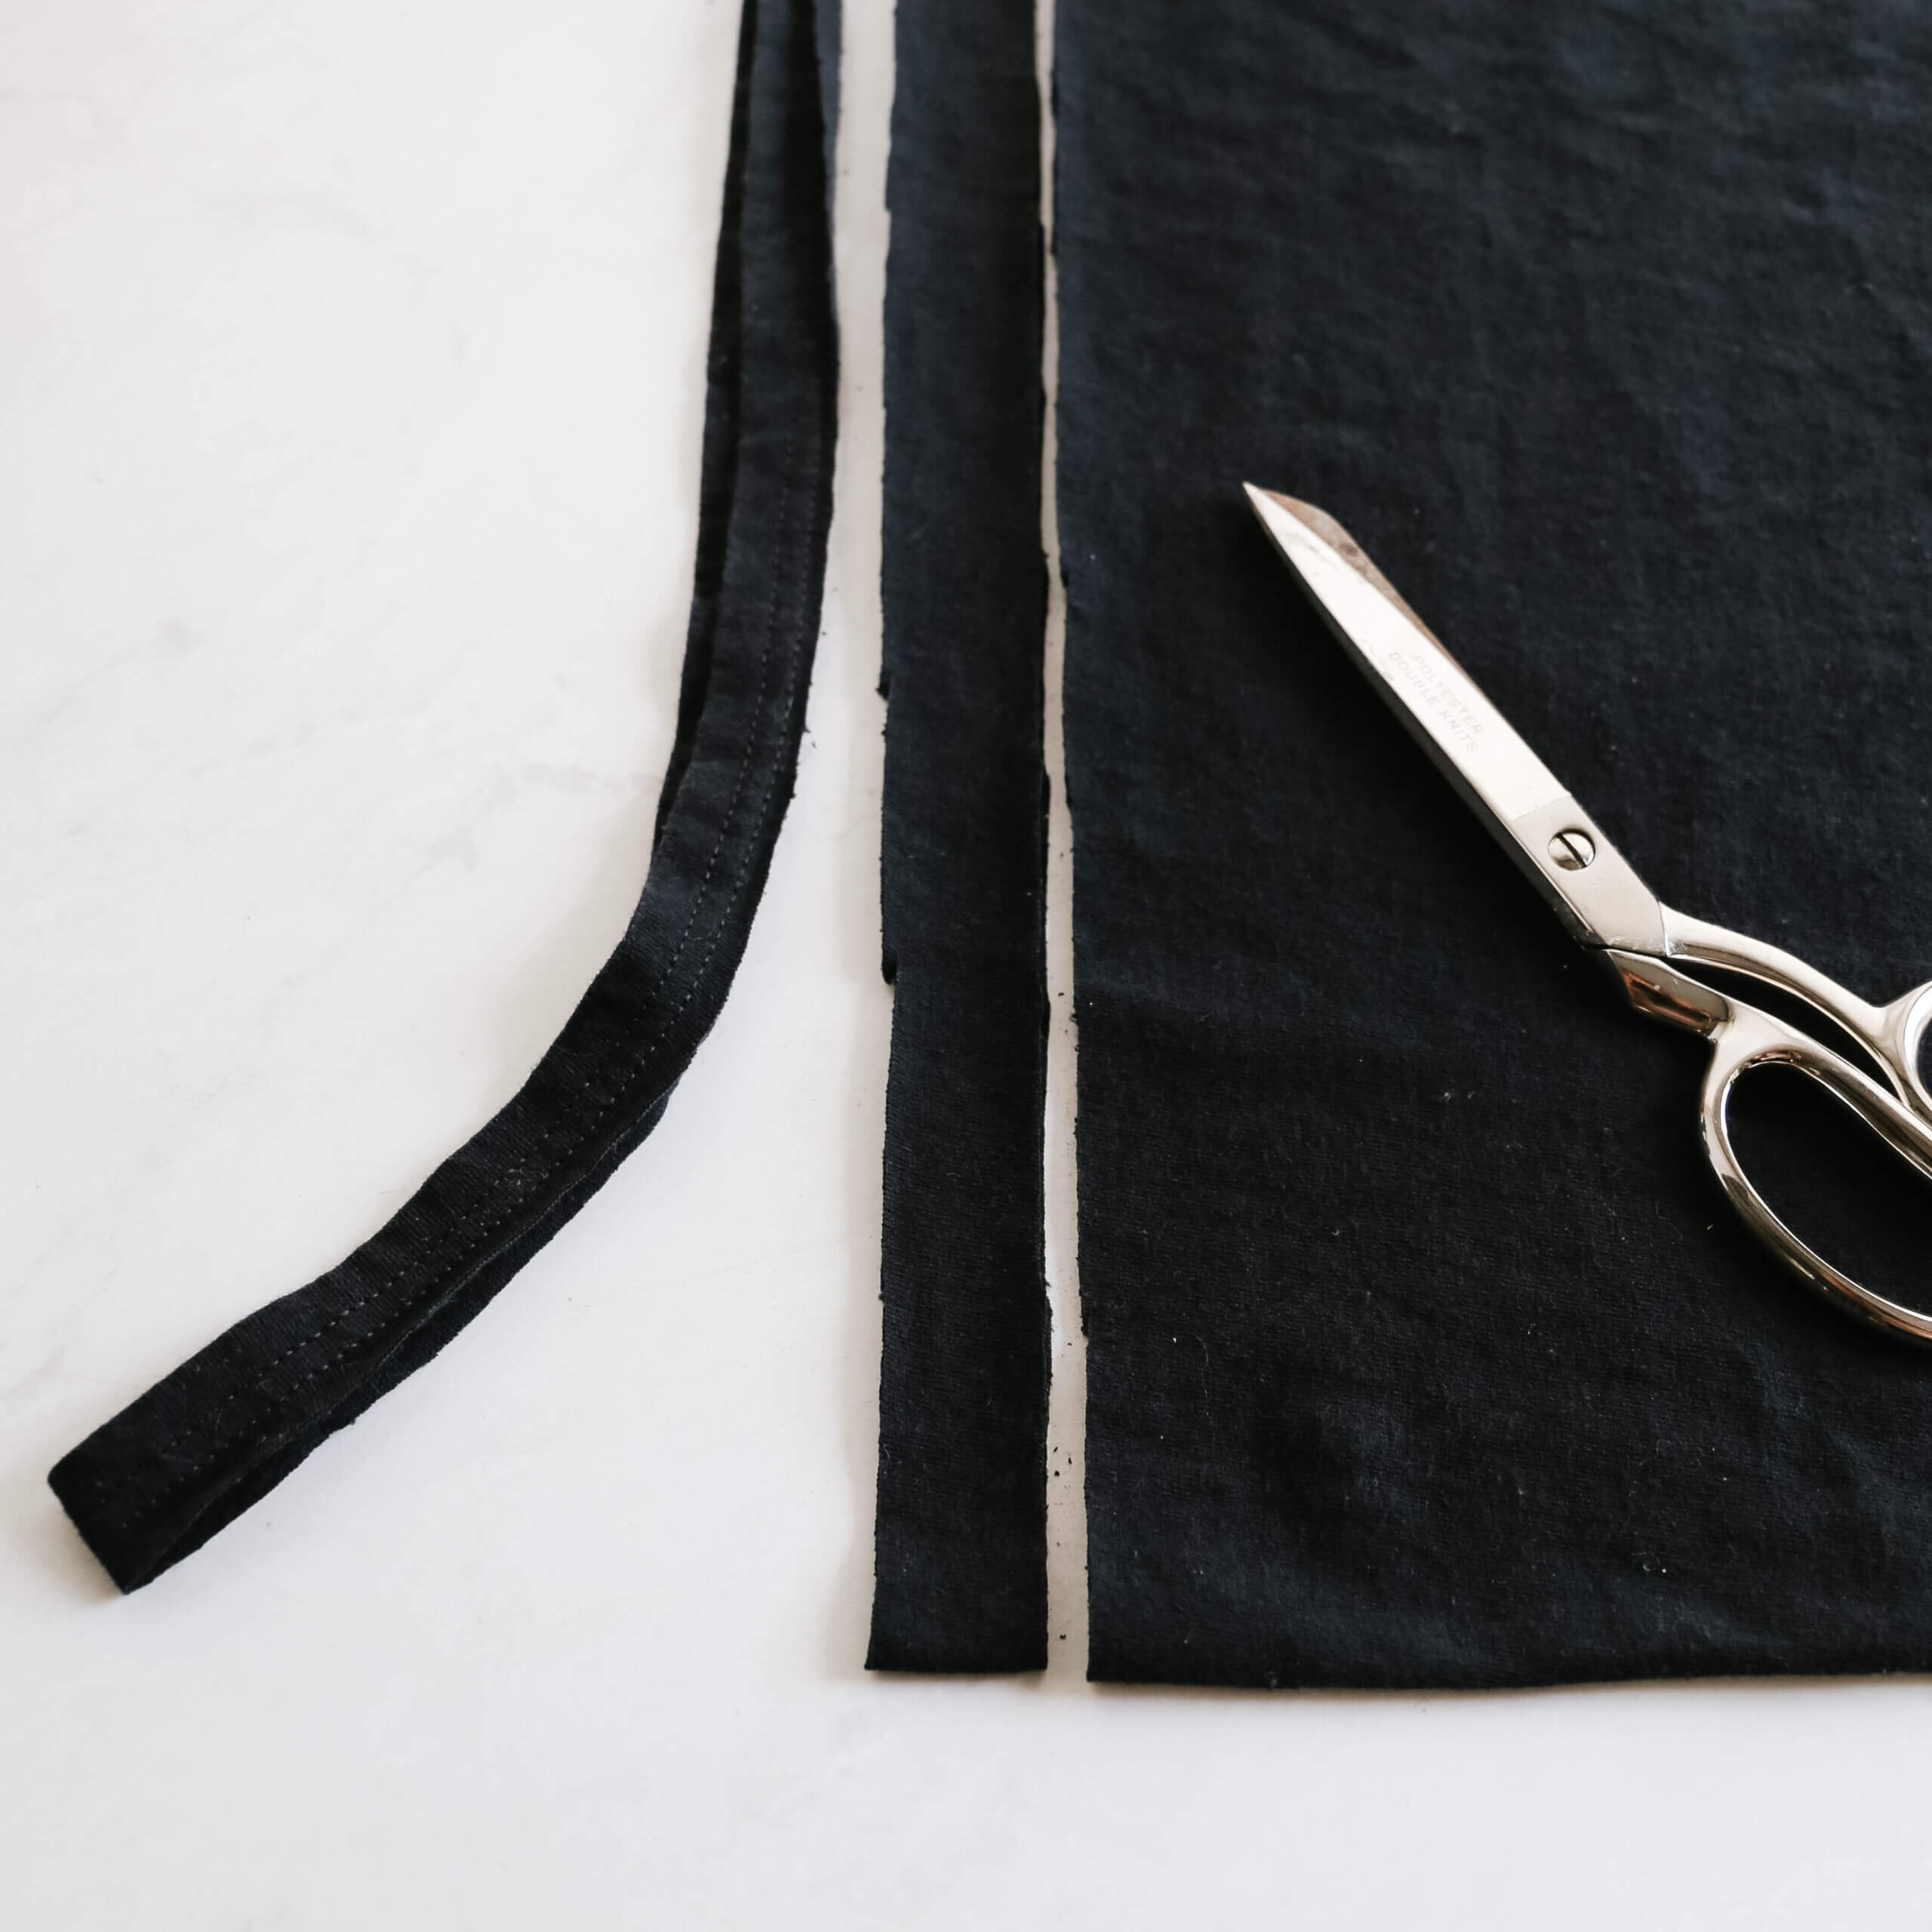
Lay the T-shirt flat on your work surface. Cut off the bottom hem.
Cut
Cut the shirt from one side to the other into strips about 1″ wide. (The strips don’t have to be perfect—just cut as straight as you can.)
Make Strips
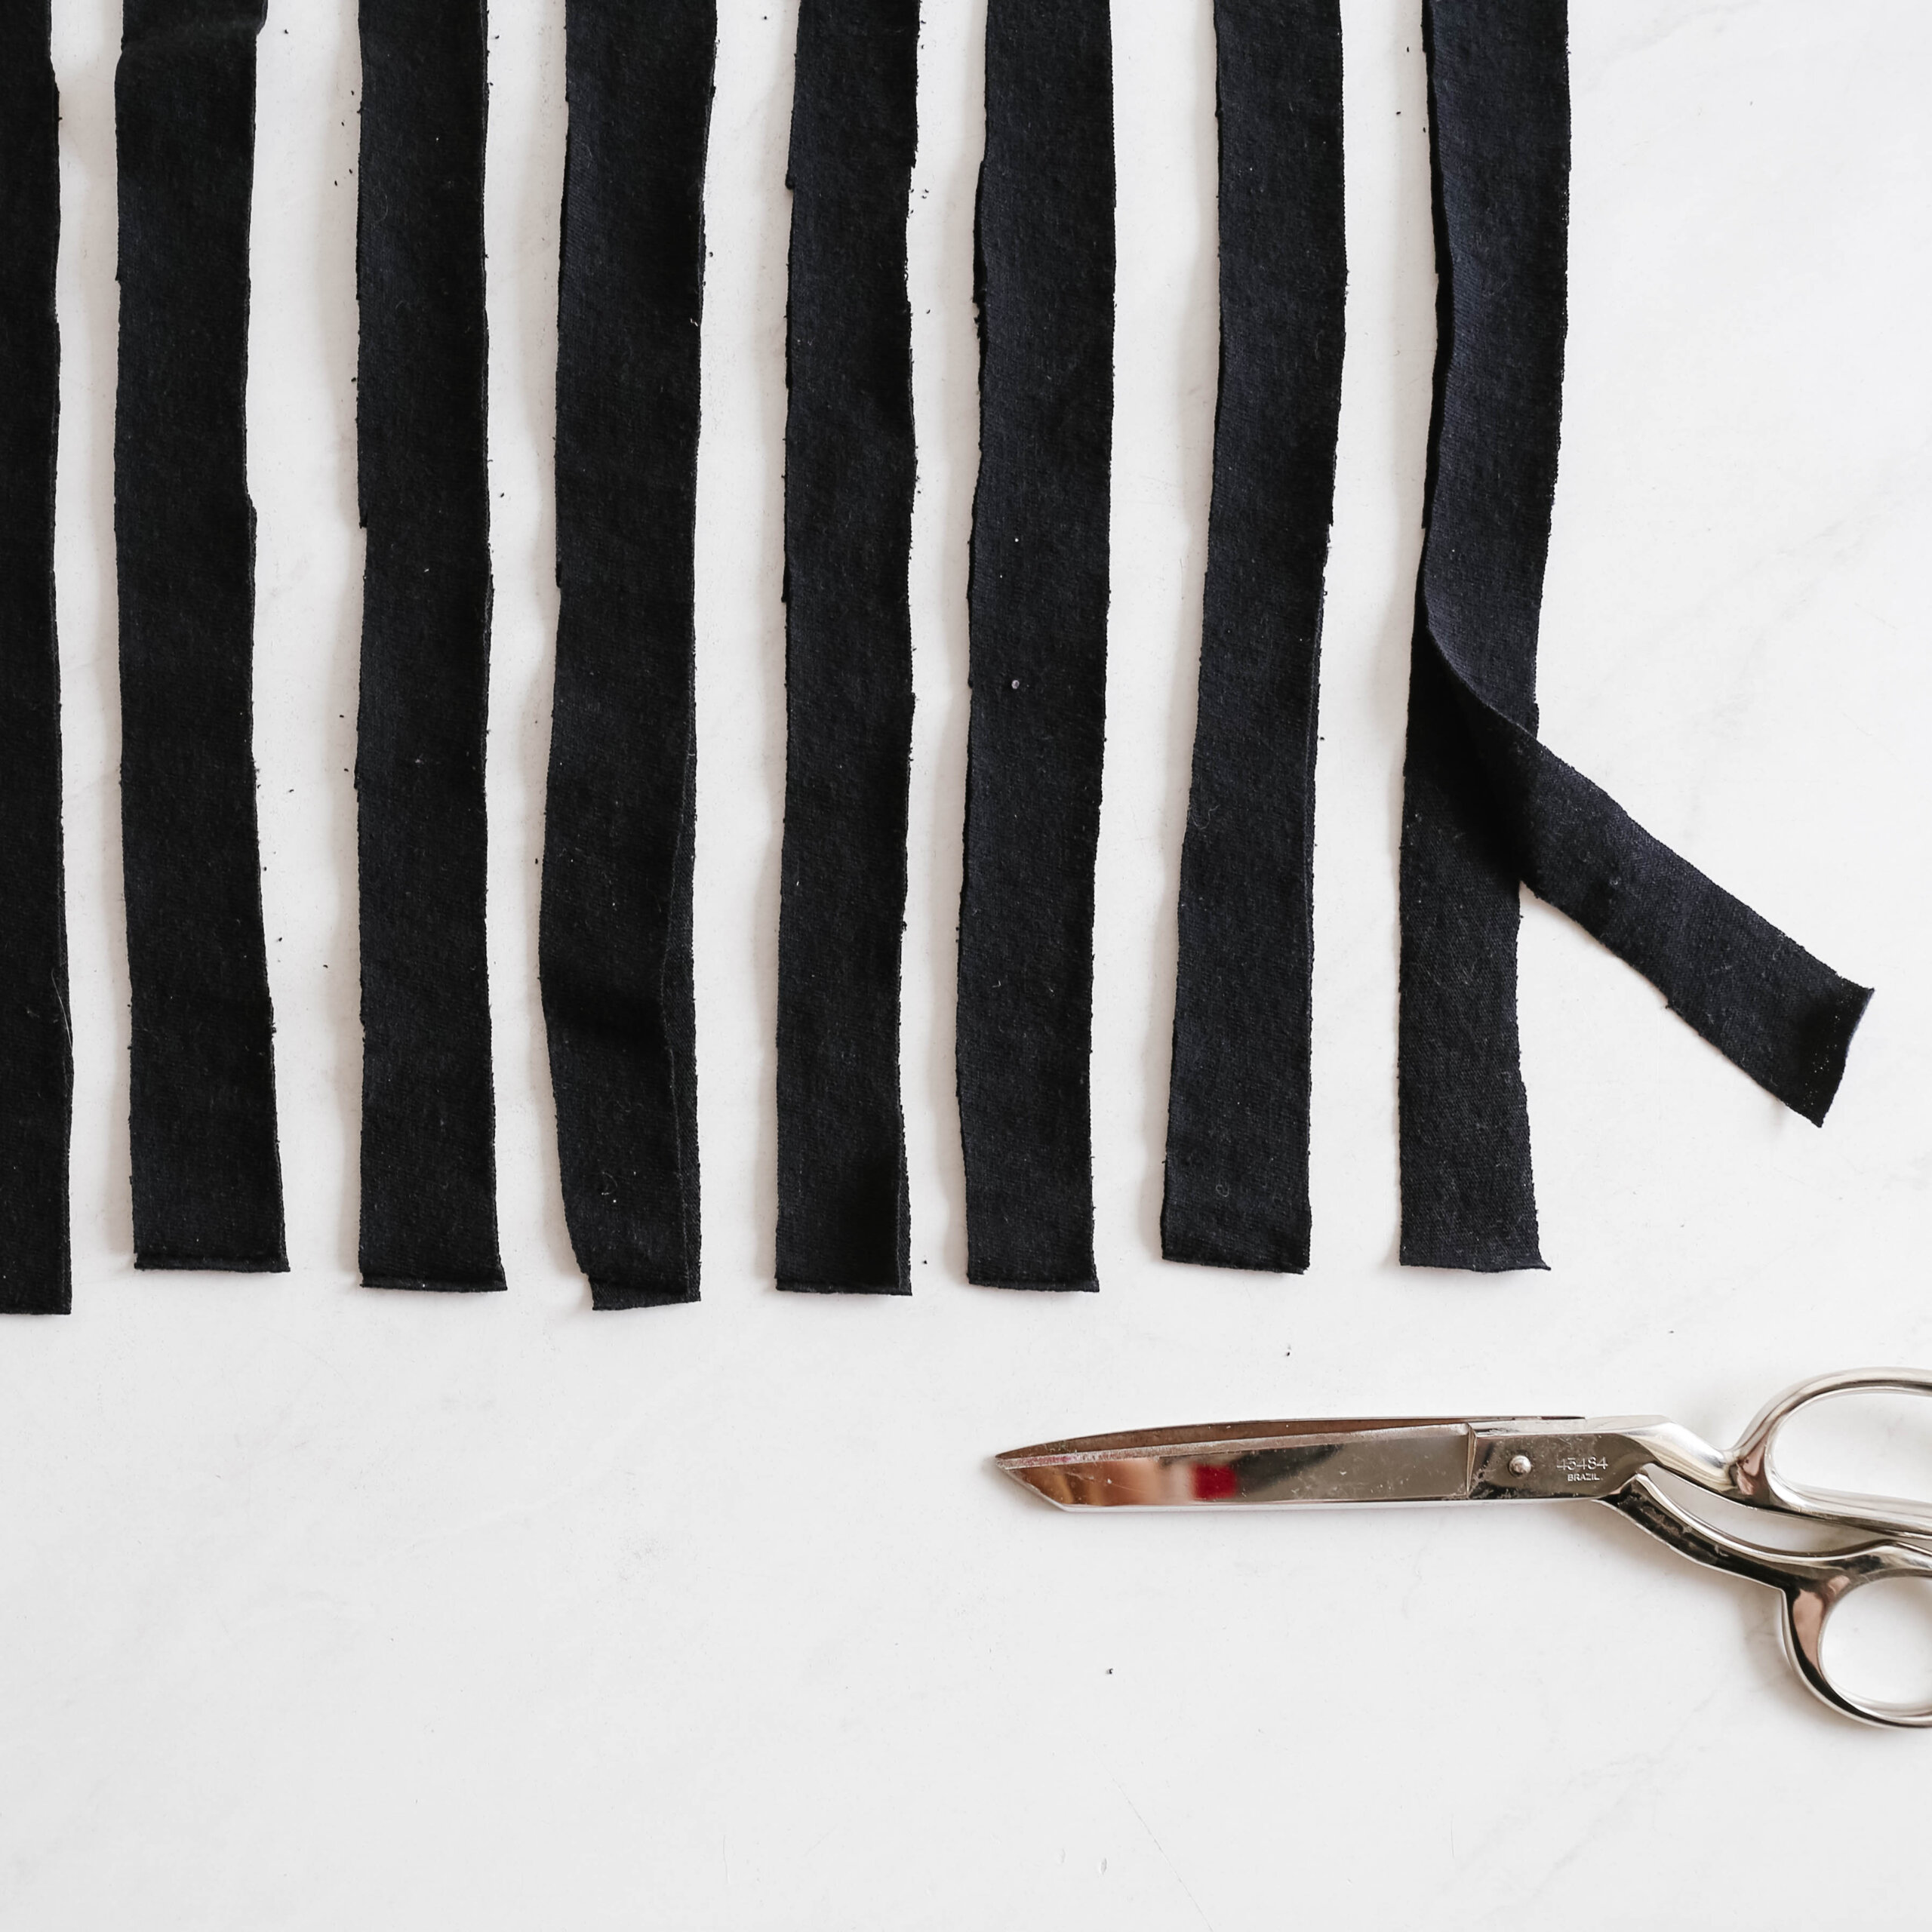
You will have a bunch of loops. Snip each loop to create a strip. (Leave as loops if you’re using it for cat’s cradle.)
Stretch
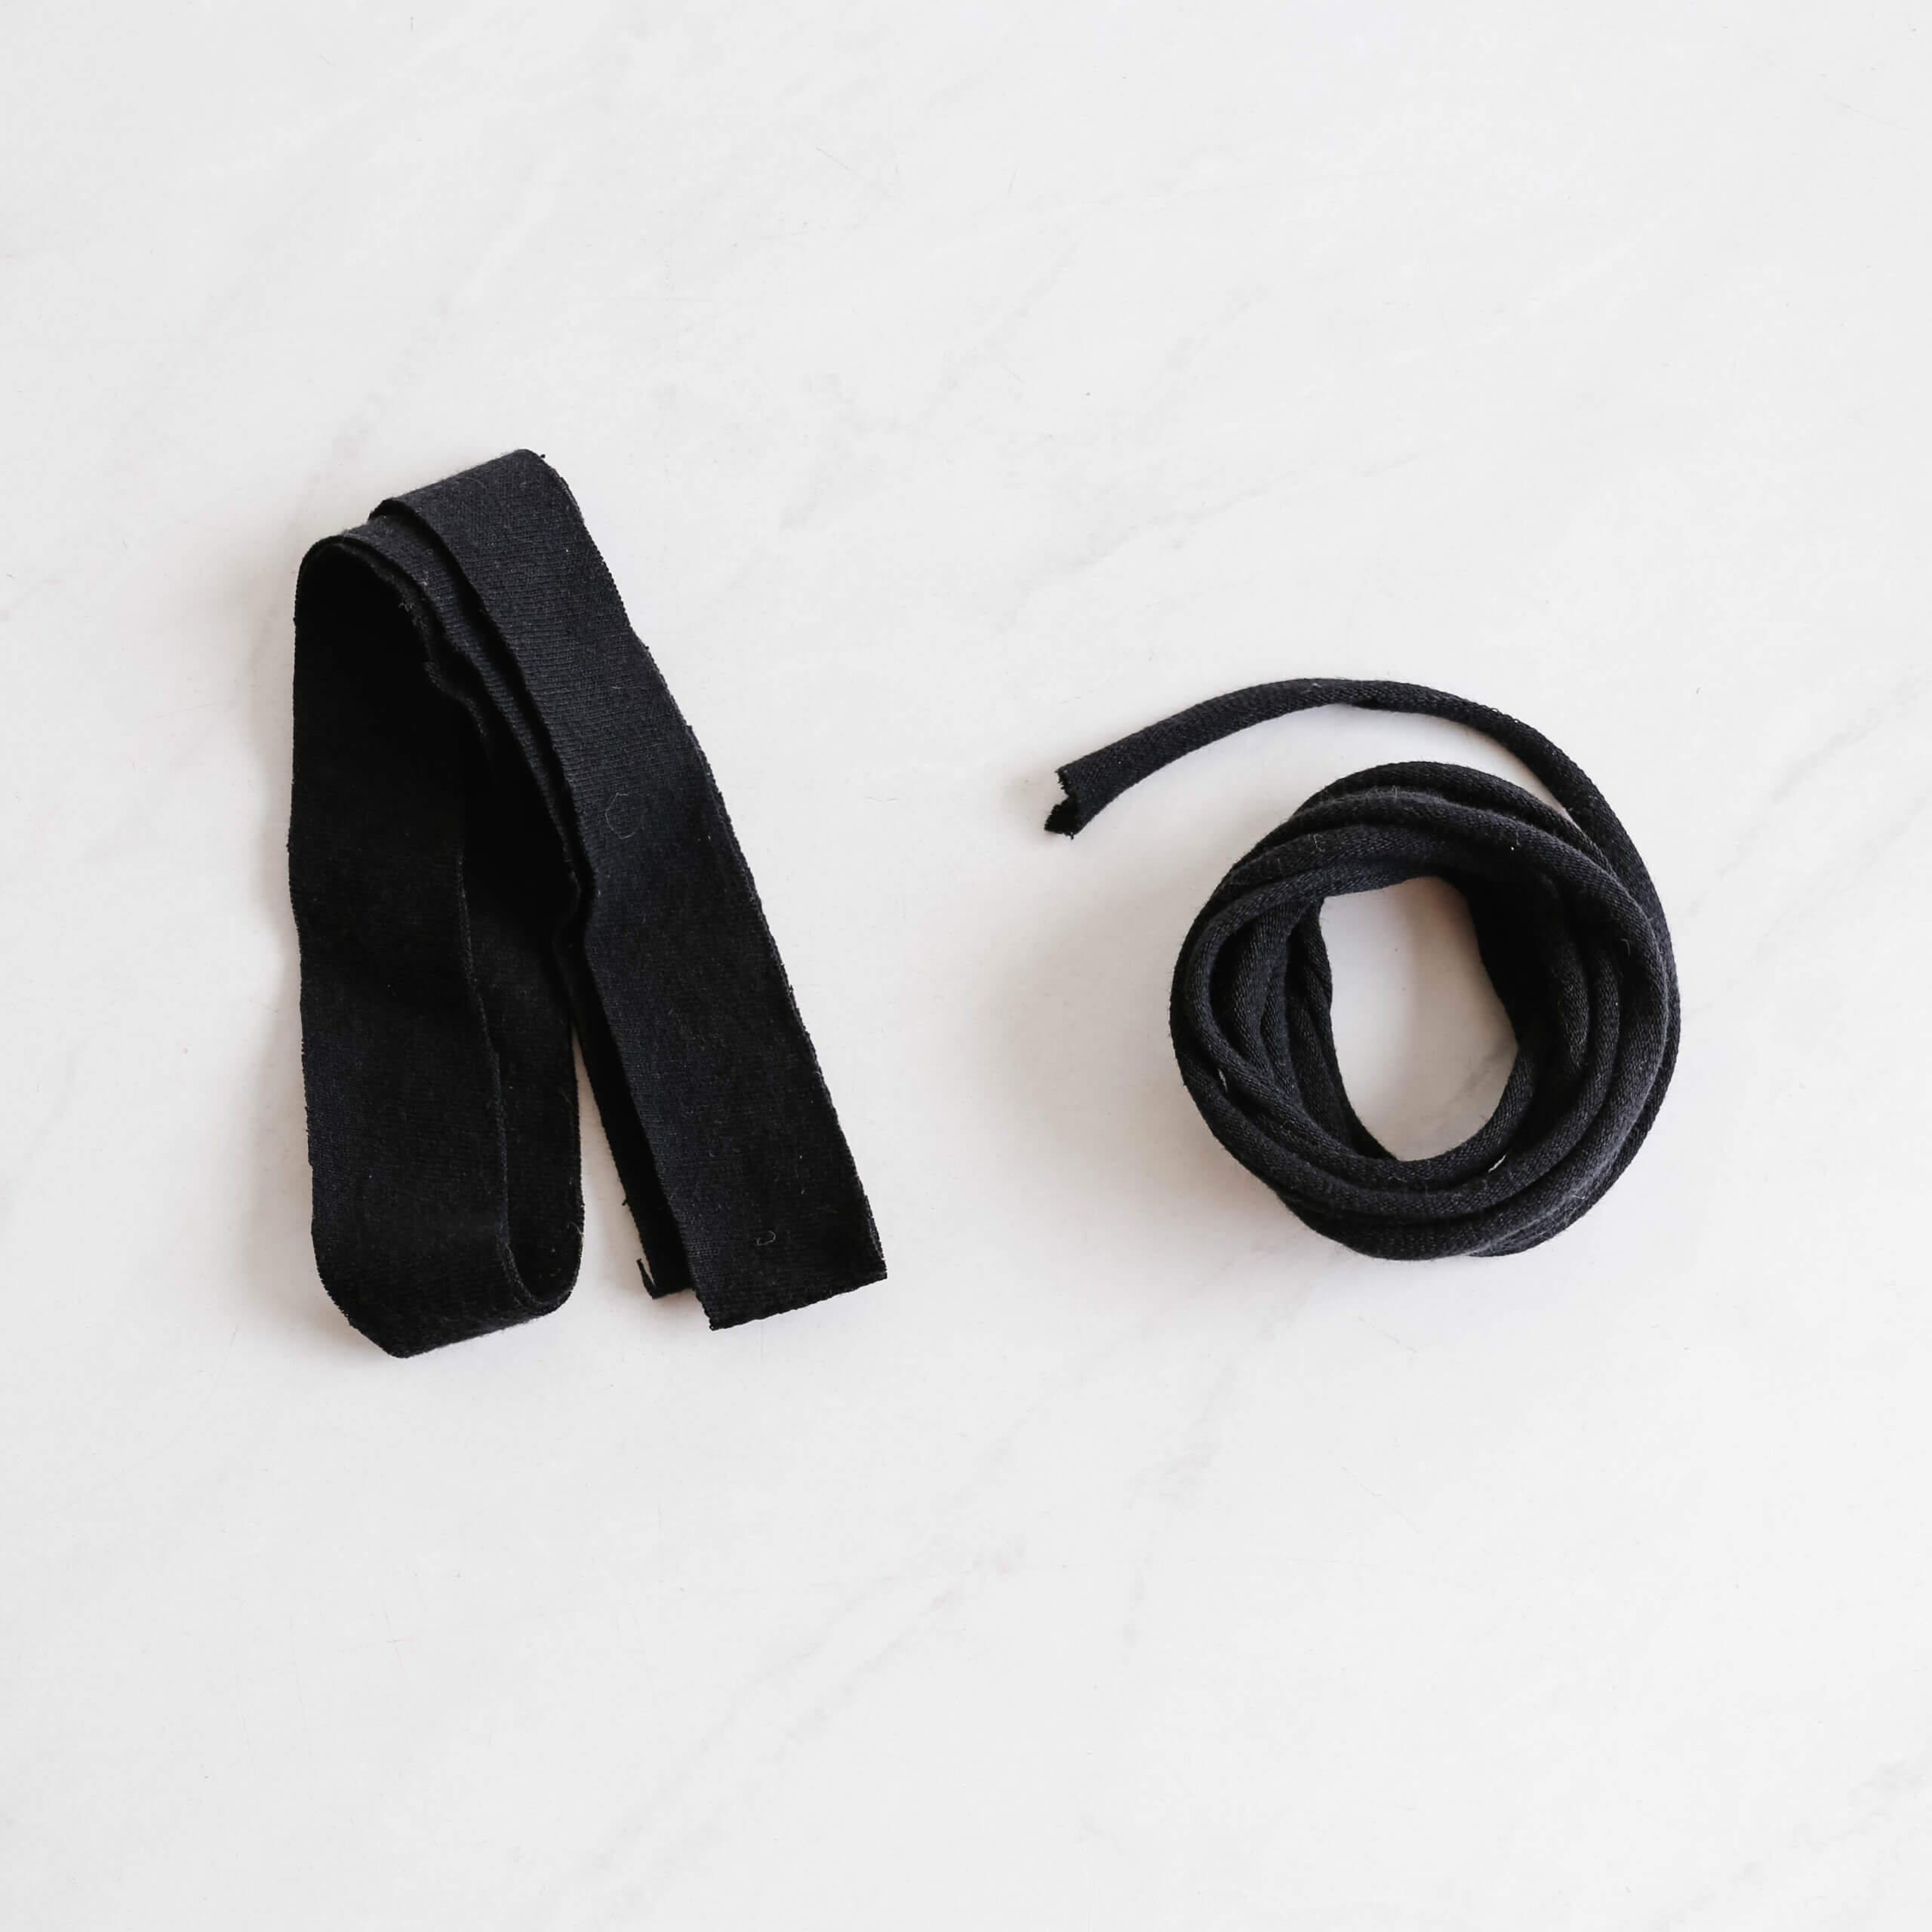
Take each strip and pull to stretch the string as long as it can go. They will go from flat into round strings that hide the cut edges.
Make Stuff
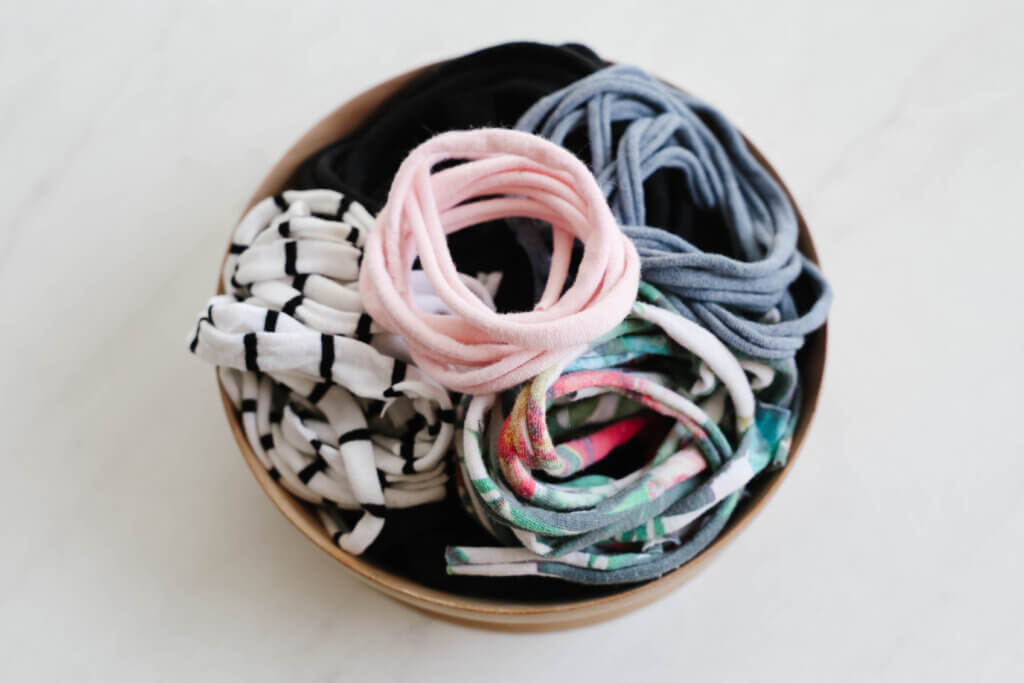
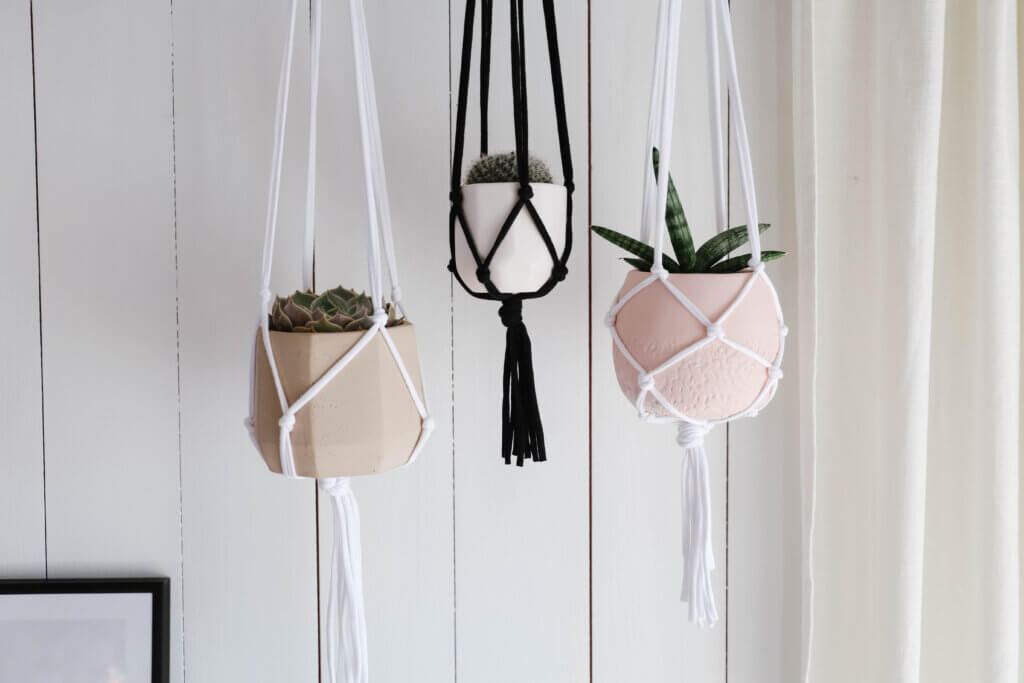
Now they’re ready to use for all sorts of crafts including a macrame-style hanging planter.
Make a macrame-style hanging planter
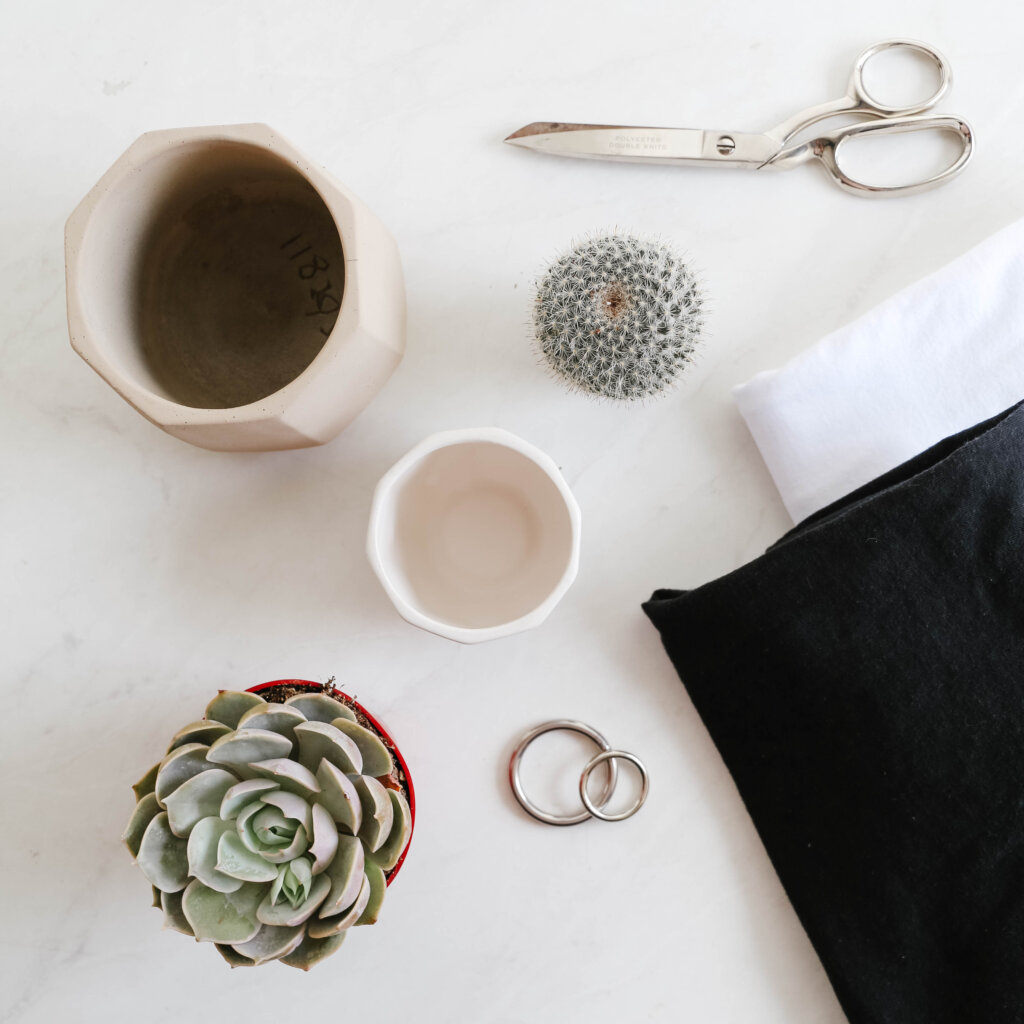
Supplies
• 4 lengths of DIY t-shirt string (shorter pieces for smaller planters and longer pieces for bigger planters)
• metal or wooden ring
• small to medium pot
• plant for the pot
• pair of scissors
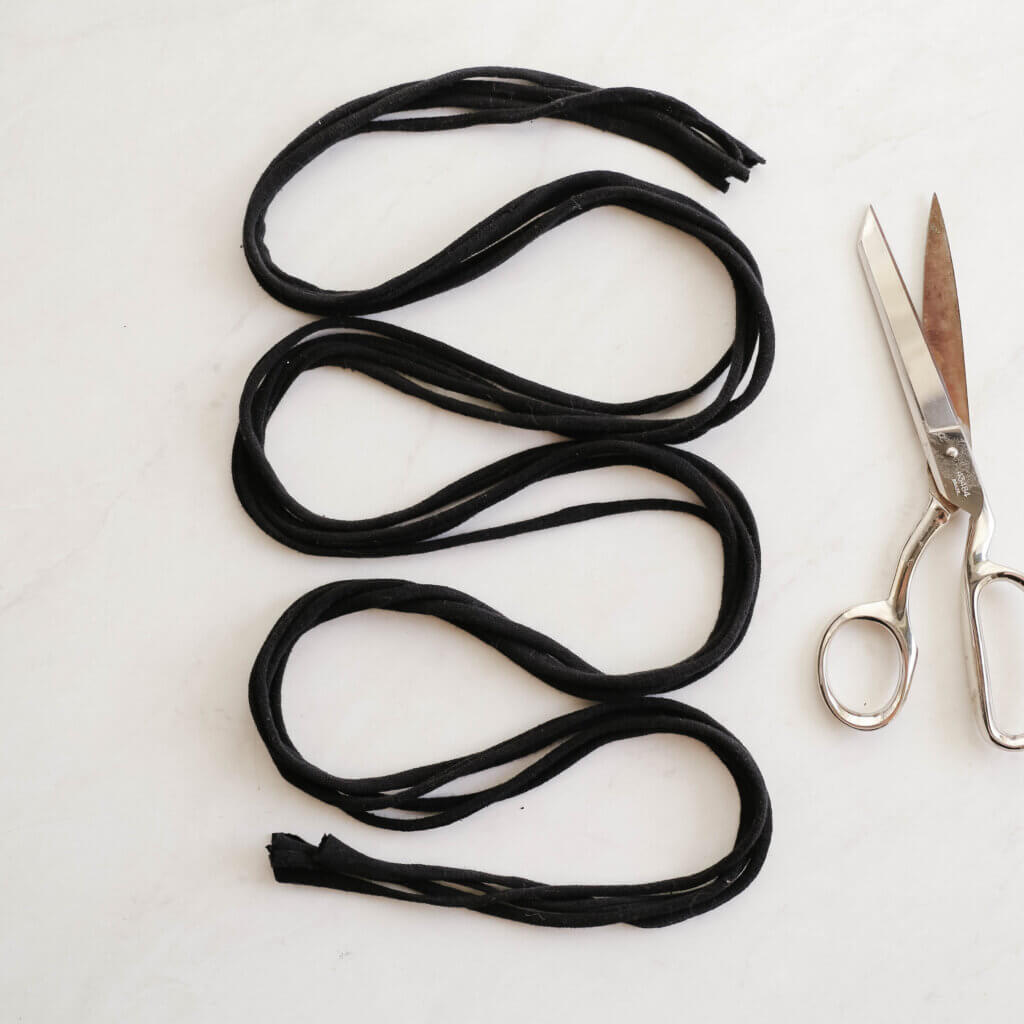
Cut
Cut four equal lengths of string. The length will depend on the size of your pot. As a starting point, allow yourself a couple of feet for a smaller pot and around 4 feet or so for a larger pot.
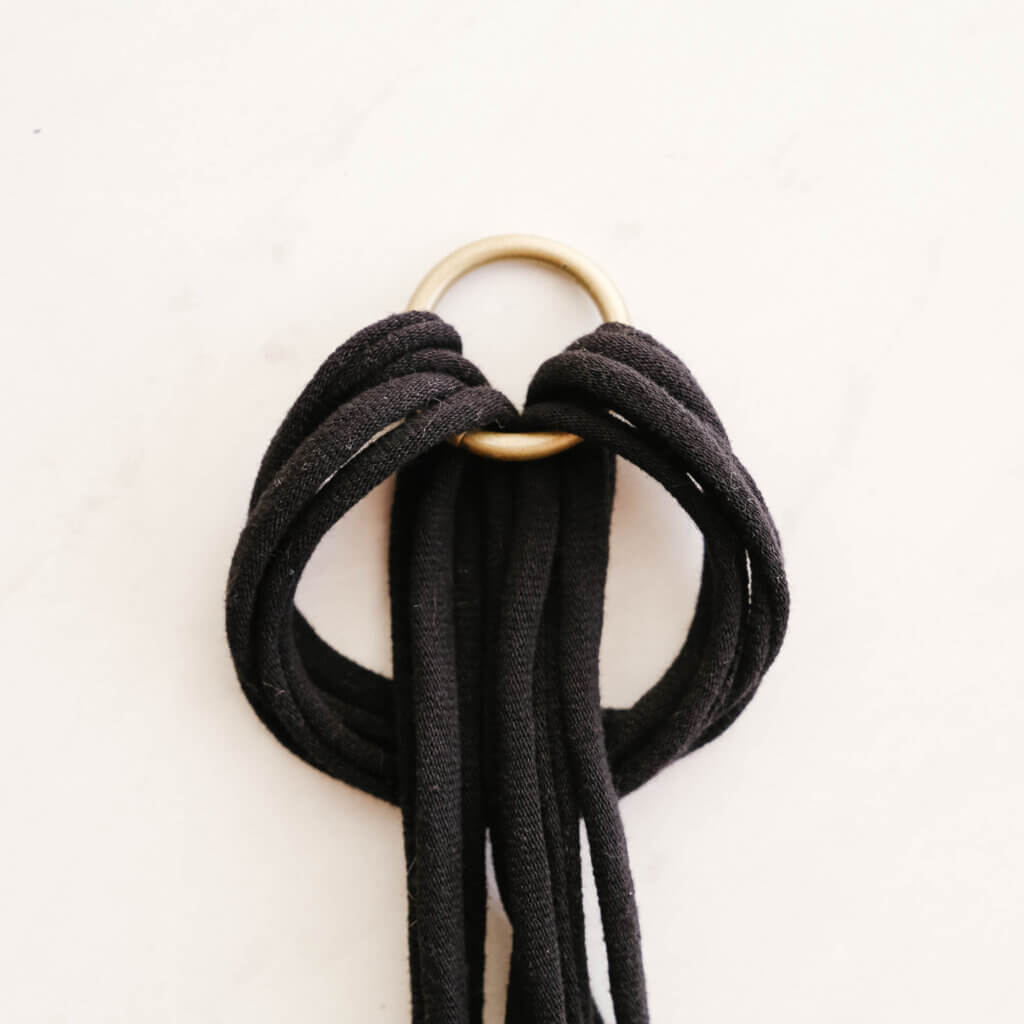
Loop Through Ring
Fold each length of T-shirt string in half. Loop the folded end through your ring. Take the loose ends, pull them through the loop, and pull tight.
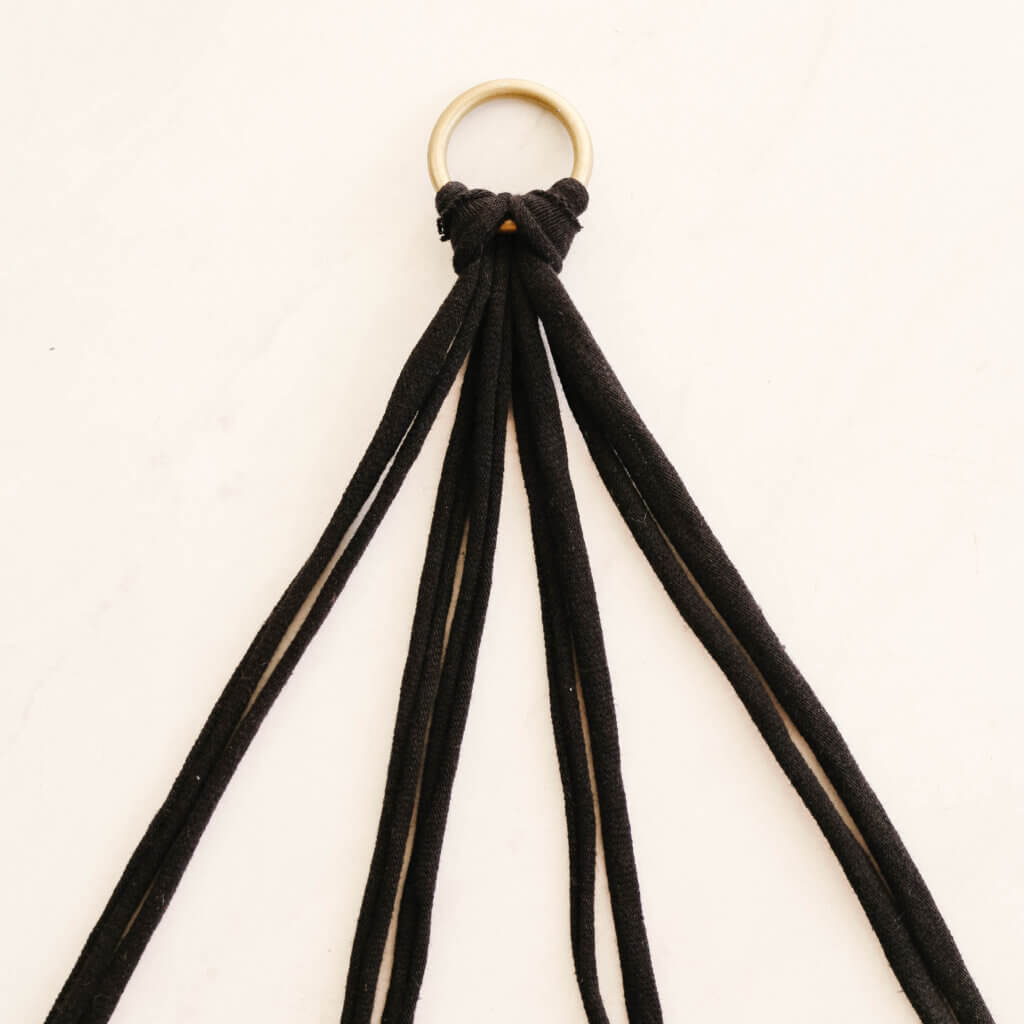
Group the Strings
Separate the strings into four groups of two strings each.
Knot the 1st Row
Decide how far down from the ring you’d like your pot to hang. Take a pair of strings and make a knot where you want the top edge of the pot to be. Knot the other three pairs of strings at the same distance from the ring to create an even row of knots.
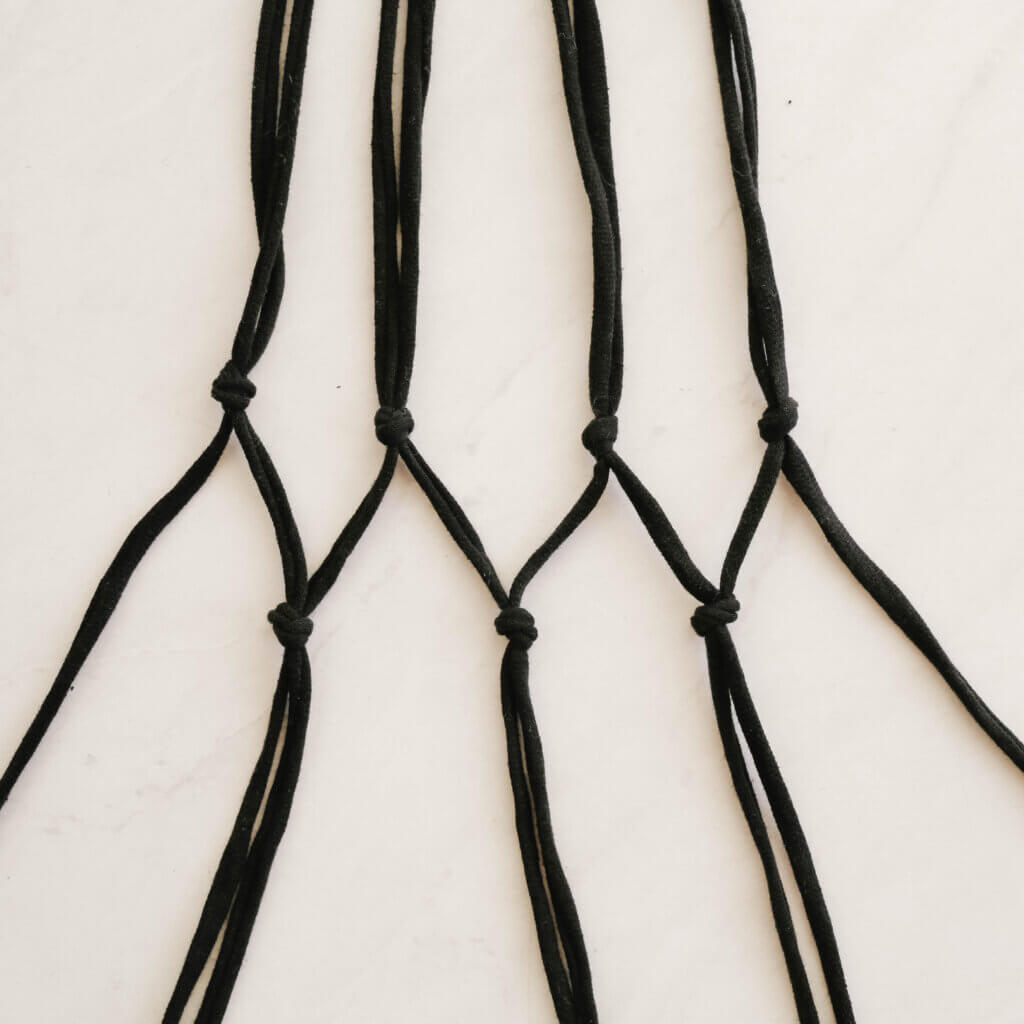
Knot the 2nd row
Take the right string of each knotted pair and tie it to the left string of the knotted pair next to it. The second row of knots should be where the middle to three-quarters of the height of your pot will be. Take the two outermost strings and tie them together to form a circular net.
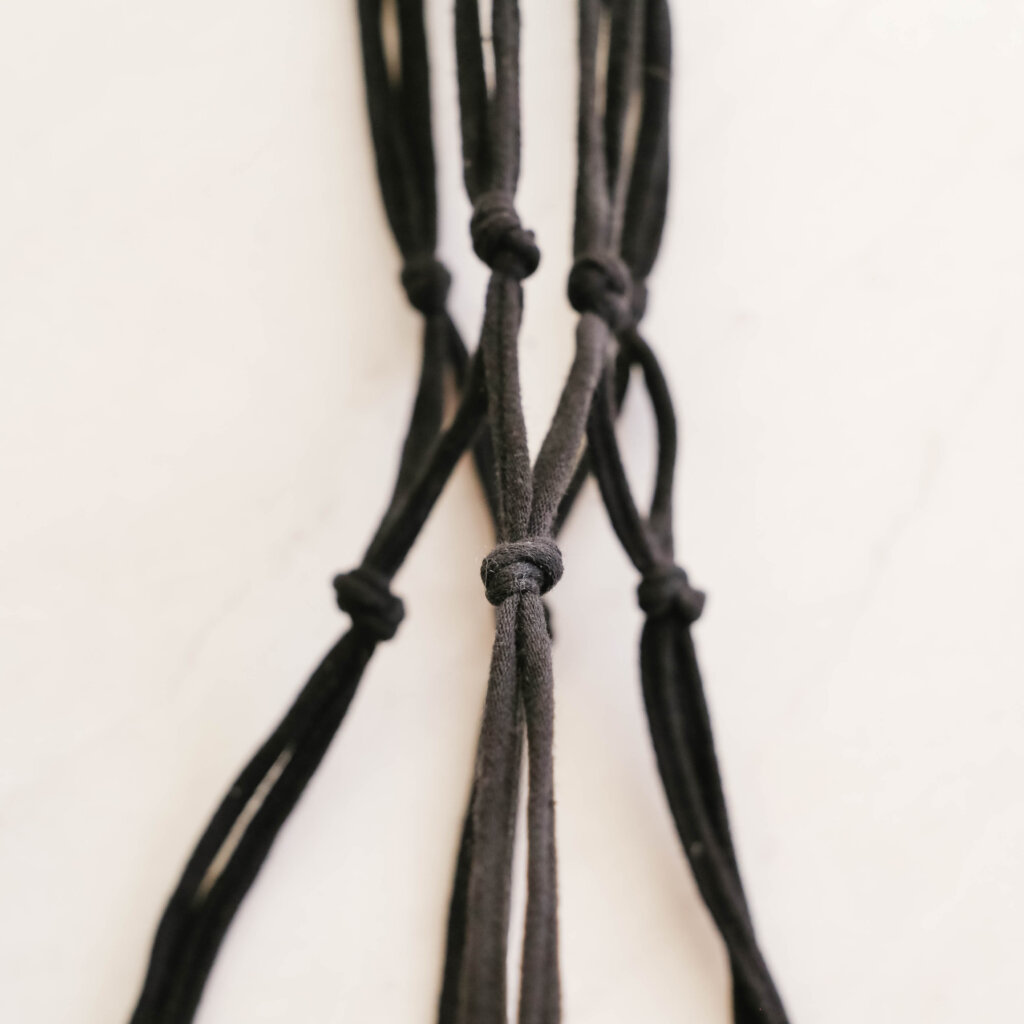
Knot the Bottom
Gather all of the strings together and loosely tie them into a single knot. This will form a base to hold the bottom of the pot. Use the pot as a reference to adjust the placement of the knot as needed so the pot will sit exactly where you want it to be, then tighten the knot.
Trim The Tassel
Trim the strings below the base knot into an even tassel. Place the pot into your macrame plant holder—it’s ready to be hung!
Jen Kossowan is a kindergarten and grade one teacher and mama of two gorgeous kiddos. She’s passionate about play, loves a good DIY project, and can most often be found in her kitchen whipping up recipes that taste delicious while meeting her crunchy mama criteria. She started Mama.Papa.Bubba. on a whim in 2010 while living in the Middle East and has been sharing her recipes and activities there ever since.
Learn more: mamapapabubba.com | IG: @mamapapabubba