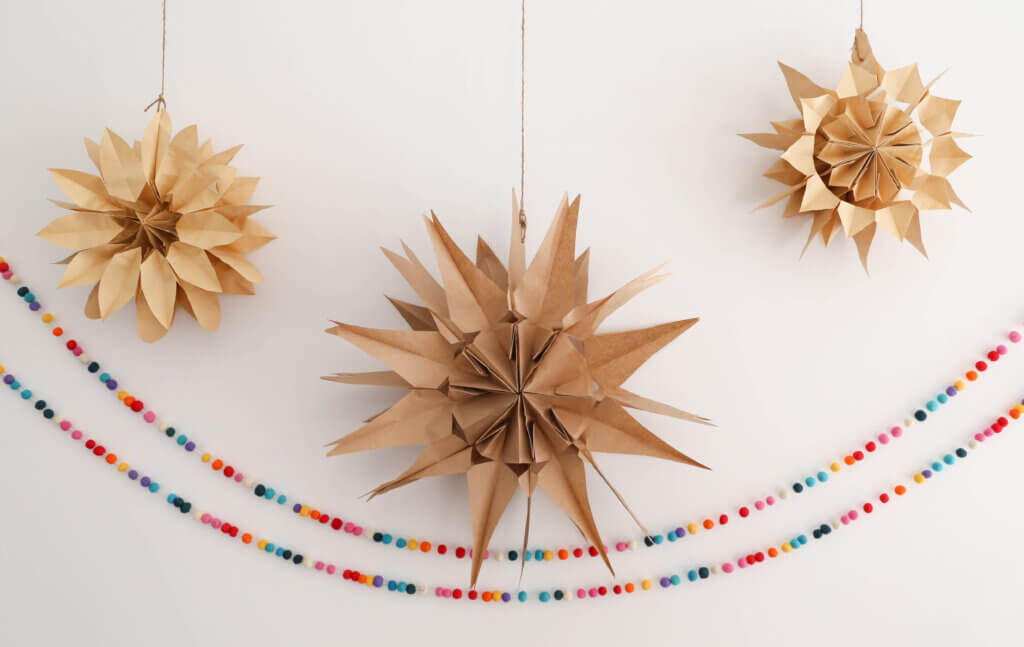
Beautiful winter decor made from paper bags? Heck yes! This might be the simplest and quickest DIY decor project ever, but it turns out every time and has huge wow factor. Better yet, these paper bag snowflakes cost very little to make and can be reused year after year and then composted when done.
What You’ll need
• 8–12 same-size paper bags
• glue stick
• pencil
• sharp scissors
• twine
Optional
• hole punch
• paper clips or small binder clip
• watercolour paint and paintbrush
Make It
Cutting these is similar to making 2-D snowflakes, but the finshed product is much more dramatic.
For a more colourful option, brush on some watercolour paint—just be sure to go easy on the water as the thin paper can get soggy easily.
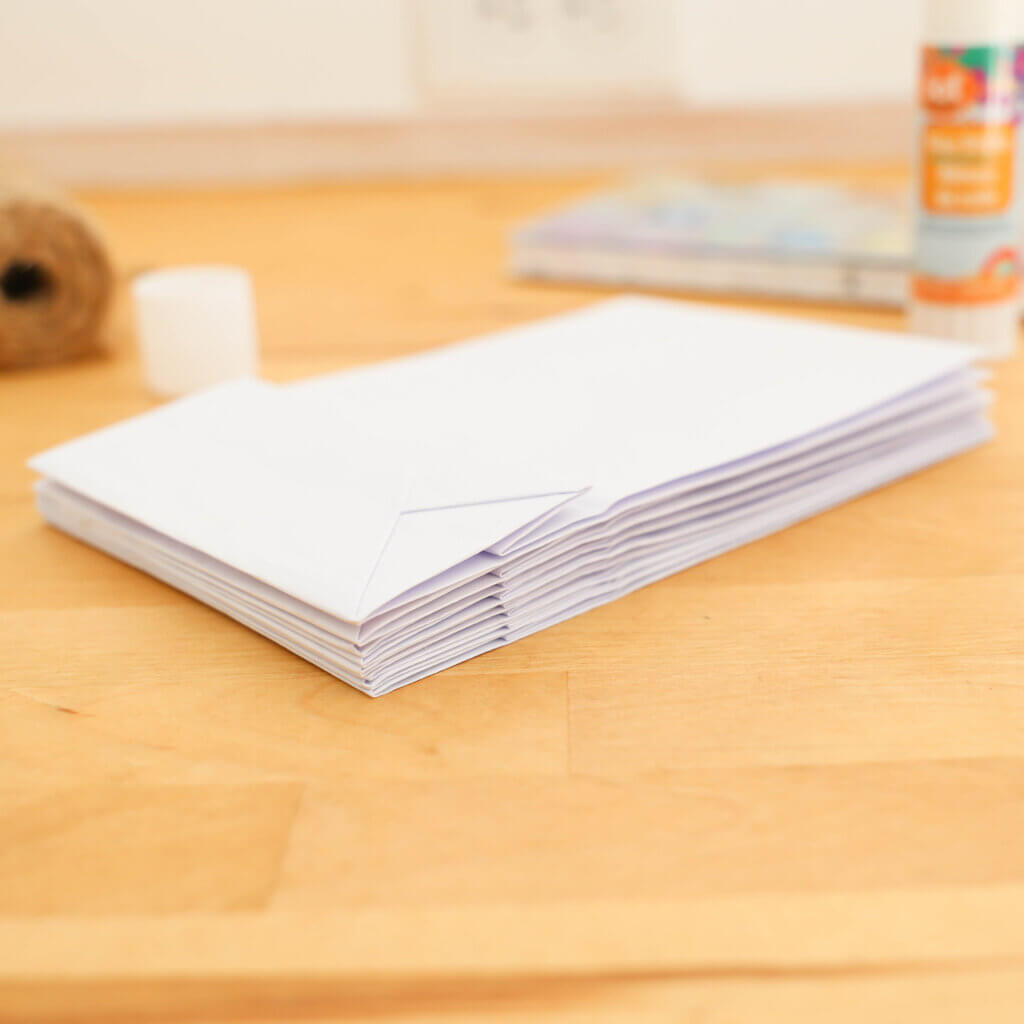
Step 1: Glue
Place a paper bag on your work surface with the flap facing up and the opening at the top.
Apply glue to the entire side of the bag that is facing up.
Immediately take a second bag and orient it the same way. Carefully place it on top of the first, lining up all four sides. Press and smooth the bag down.
Repeat with the remainder of the bags. Note: You’ll need about 12 smaller lunch-size bags or about 8 larger grocery-size bags.
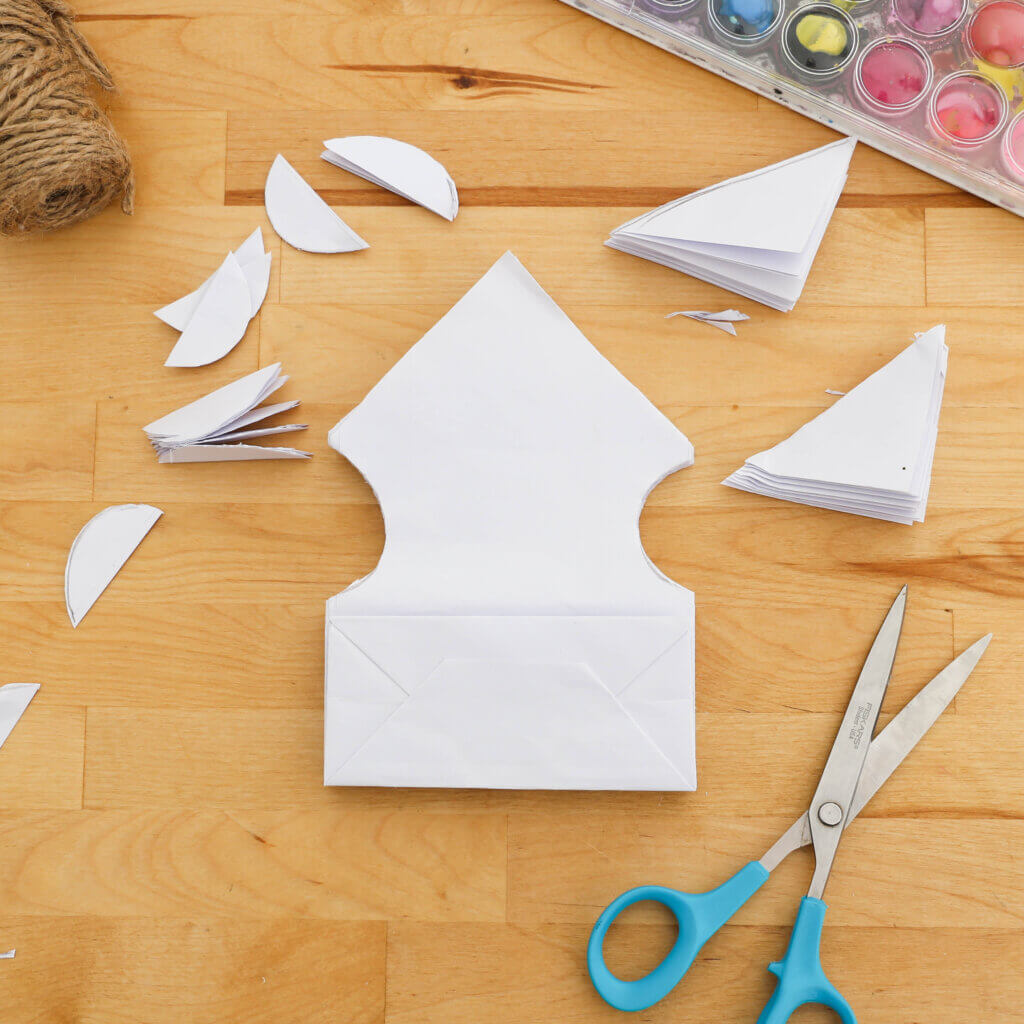
Step 2: Cut
Draw your design with pencil first or just go straight to cutting.
First, cut the open end of the bags. Snip off the top corners to create a triangle shape as shown or try a rounded shape, a single angled line, a zig-zag, or anything else that comes to mind.
Second, cut along the sides of the bags. Try semi-circles as shown or triangles and lines in different sizes and formations. Just be sure not to cut out too much and also keep the bottom flap part mostly intact.
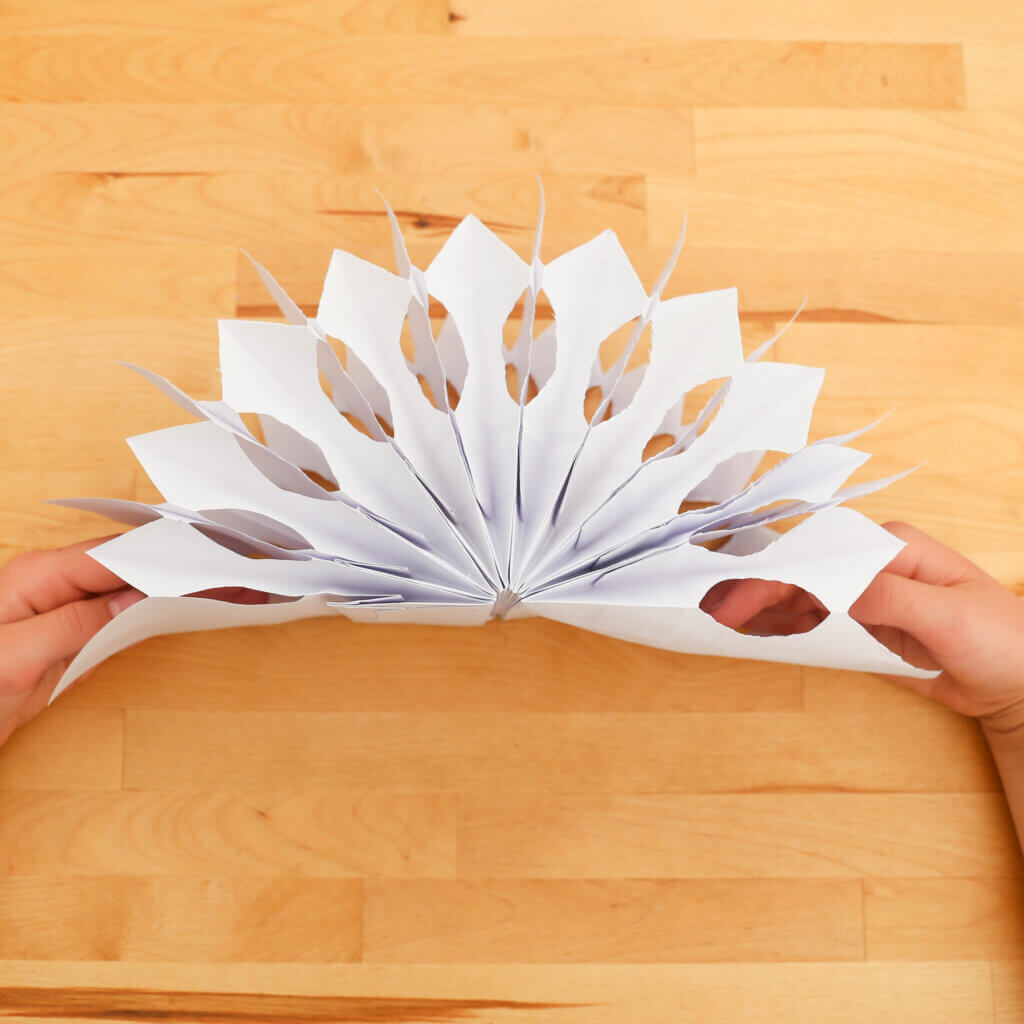
Step 3: Fan & Secure
Fan out the bags into a circle. If you love how it looks, you’re ready to secure it. To make any adjustments, fold it back up and adjust your cuts or add more.
Secure your snowflake open with clips or glue. (Clips work well if you’d like to keep your snowflakes and store folded flat after use.) Use a sharp pencil tip or hole punch to create a small hole in one of the snowflake’s points. Thread a piece of twine through, knot and hang.
Make a bunch and hang along a wall, in front of a window, from a mantle, or even from the ceiling
Jen Kossowan is a kindergarten and grade one teacher and mama of two gorgeous kiddos. She’s passionate about play, loves a good DIY project, and can most often be found in her kitchen whipping up recipes that taste delicious while meeting her crunchy mama criteria. She started Mama.Papa.Bubba. on a whim in 2010 while living in the Middle East and has been sharing her recipes and activities there ever since.
Learn more: mamapapabubba.com | IG: @mamapapabubba