The holiday season is here and this little DIY project is simple, beautiful, and easy to do with kids. The completed ornaments look beautiful on a tree, they make the loveliest little handmade gifts, and they can be used as reusable gift tags too. Pair them with brown craft paper wrapping, some beautiful ribbon, and bits of foliage foraged from outdoors for a stunning combination!
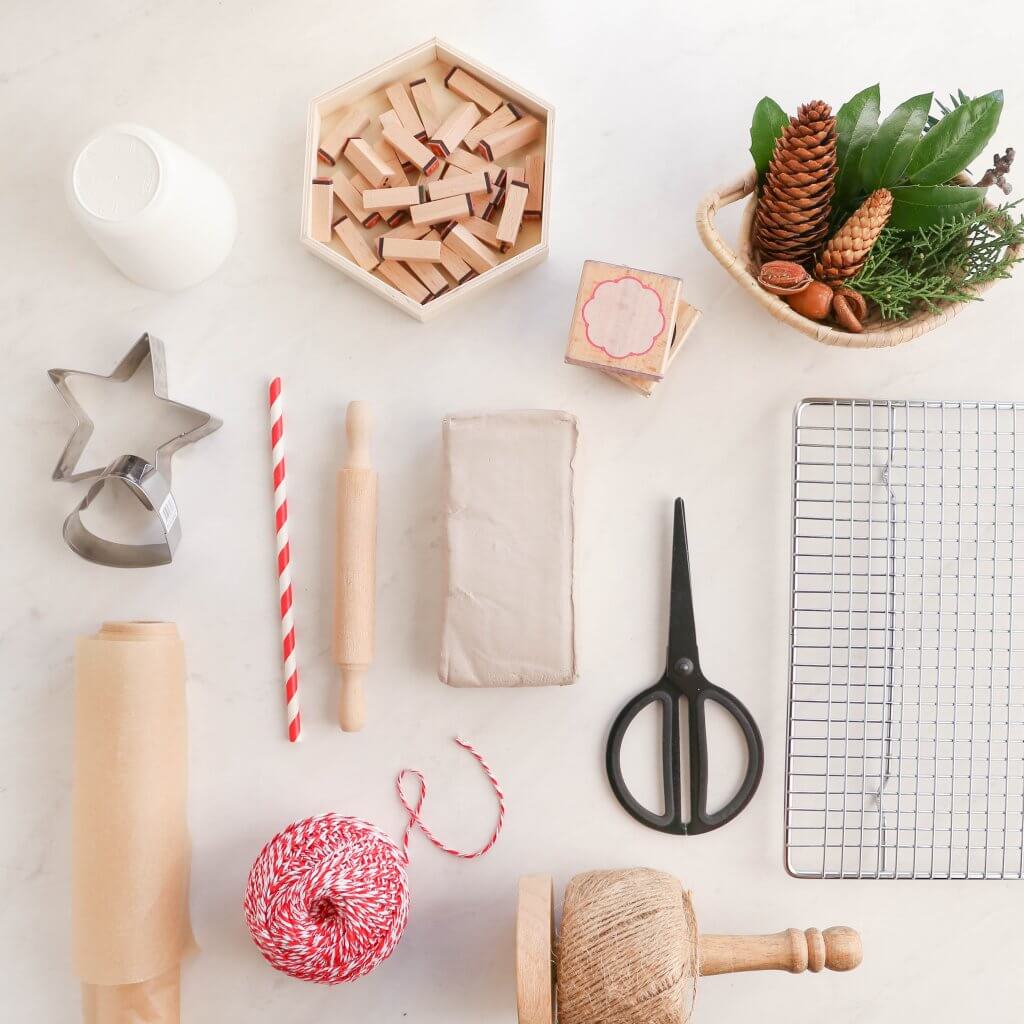
Supplies:
- Store-bought air-hardening modelling clay or a batch of homemade air-dry clay*
- Parchment or wax paper
- A rolling pin
- Cookie cutters (or a cup)
- Bits of nature and/or stamps
- A paper straw
- Scissors
- Twine or ribbon
- A cooling rack
Optional:
- Acrylic paint and paintbrushes
- Thin permanent markers
- Wooden beads
* DAS is an excellent, non-toxic, air-hardening clay that is easy to find, or if you want to try making your own with everyday ingredients, try the recipe found here: https://mamapapabubba.com/2016/02/16/homemade-air-dry-modelling-clay-aka-baking-soda-clay/
Here’s what to do:
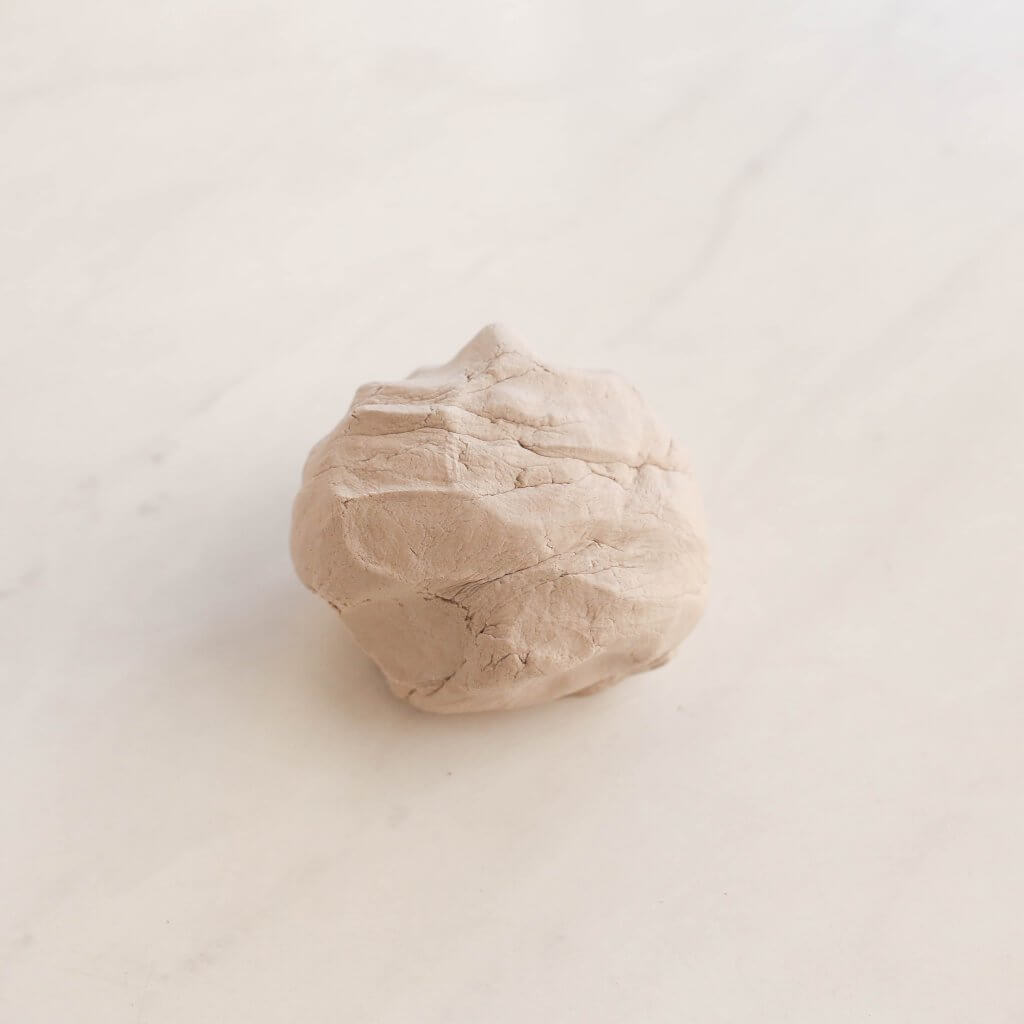
1. If you’re using store-bought air-hardening clay, break off a large handful and begin kneading to warm it up. Once slightly softened, bring it together into a tight ball with lots of rolling and patting. You want the ball to be as dense and crack-free as possible for best results. If you’re using a homemade air-dry clay or baking soda clay, there’s no need to warm it up—it’ll be plenty soft to start with. Simply form a big handful of clay into a ball that is as tightly packed and crack-free as possible.
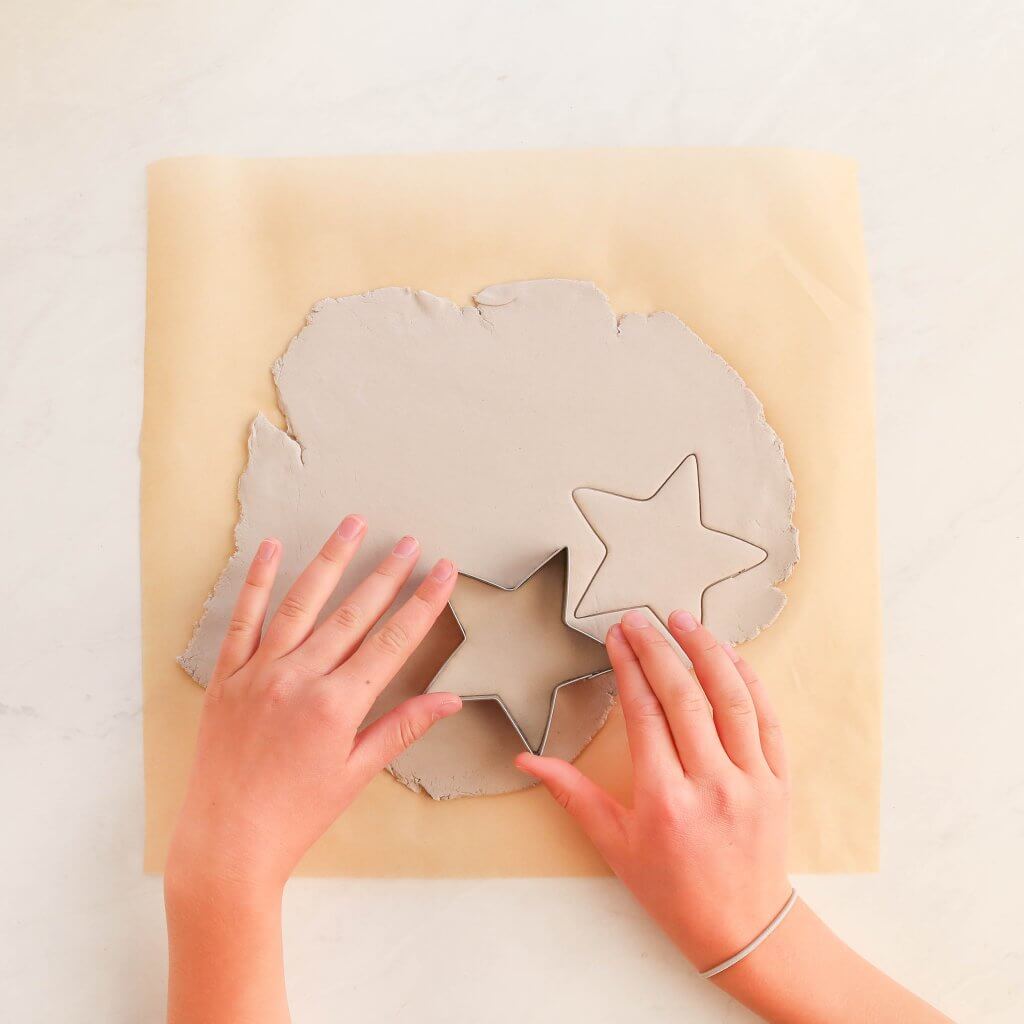
2. Next, cover your work surface with parchment or wax paper. This will prevent the clay from sticking to your table or counter. Place your clay in the centre of the paper and gently roll it out to about 5mm to 7mm thickness. If you find your clay sticking to your rolling pin, add a second piece of parchment/wax paper on top and sandwich the clay between the two layers while rolling. Using cookie cutters or the top edge of a cup, cut the clay into shapes. For especially clean edges, push down really firmly and then give the cutter or cup a little wiggle before lifting it up.
3. Next, cut your paper straws into small chunks and use your fingers to gently reshape both ends into circles. Use the straw chunks to create a small hole near the top of each clay shape, making sure not to place them too close to the edge.
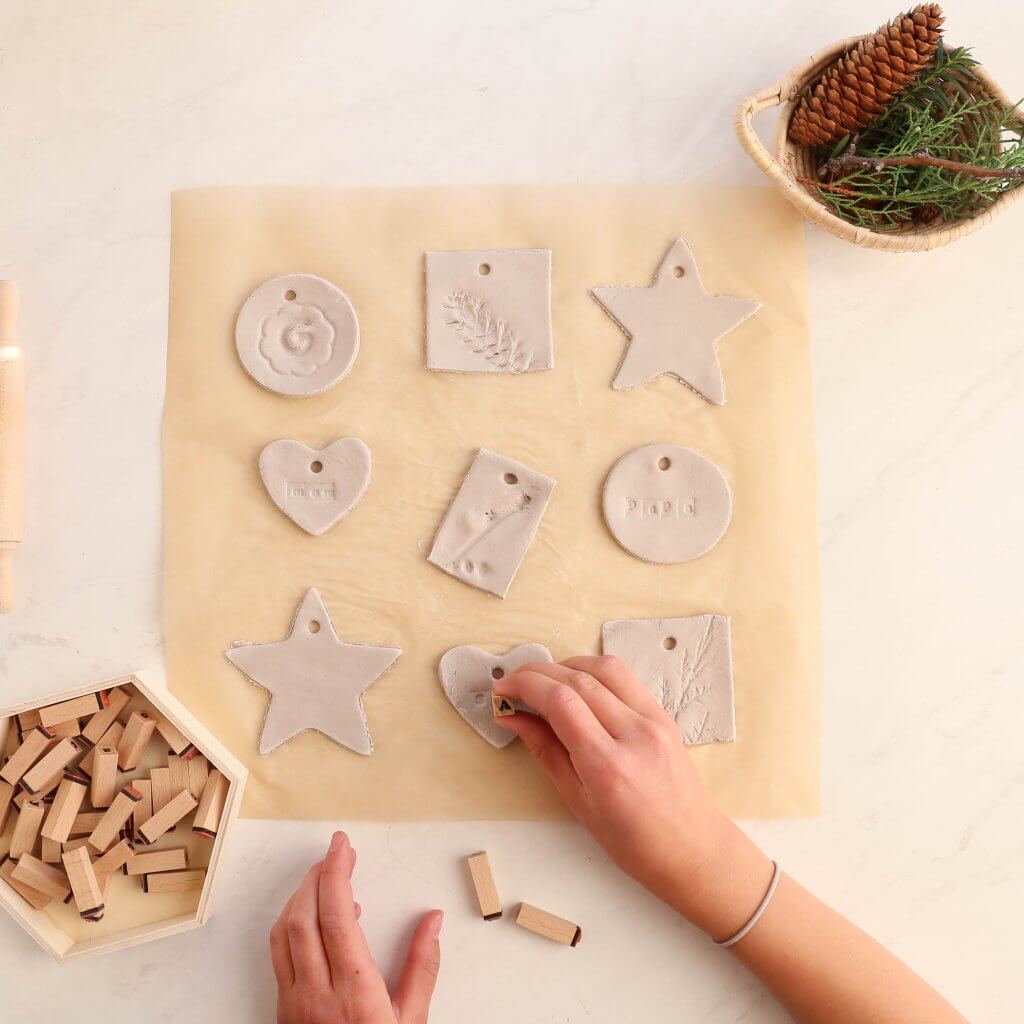
4. Now it’s time to create your imprints! This can be done with the items you collected in nature, any stamps you may have on hand, or a combination of the two. Decide what you’d like to imprint into your clay shapes, lay it out, and then carefully press the items/stamps into the clay. You’ll want to press firmly enough to get clear impressions but gently enough to not press all the way through. If the print doesn’t work out as well as you want on the first try, you can always try again. If needed, wet your hands a little bit to add moisture back into the clay, ball it up, and roll it out again.
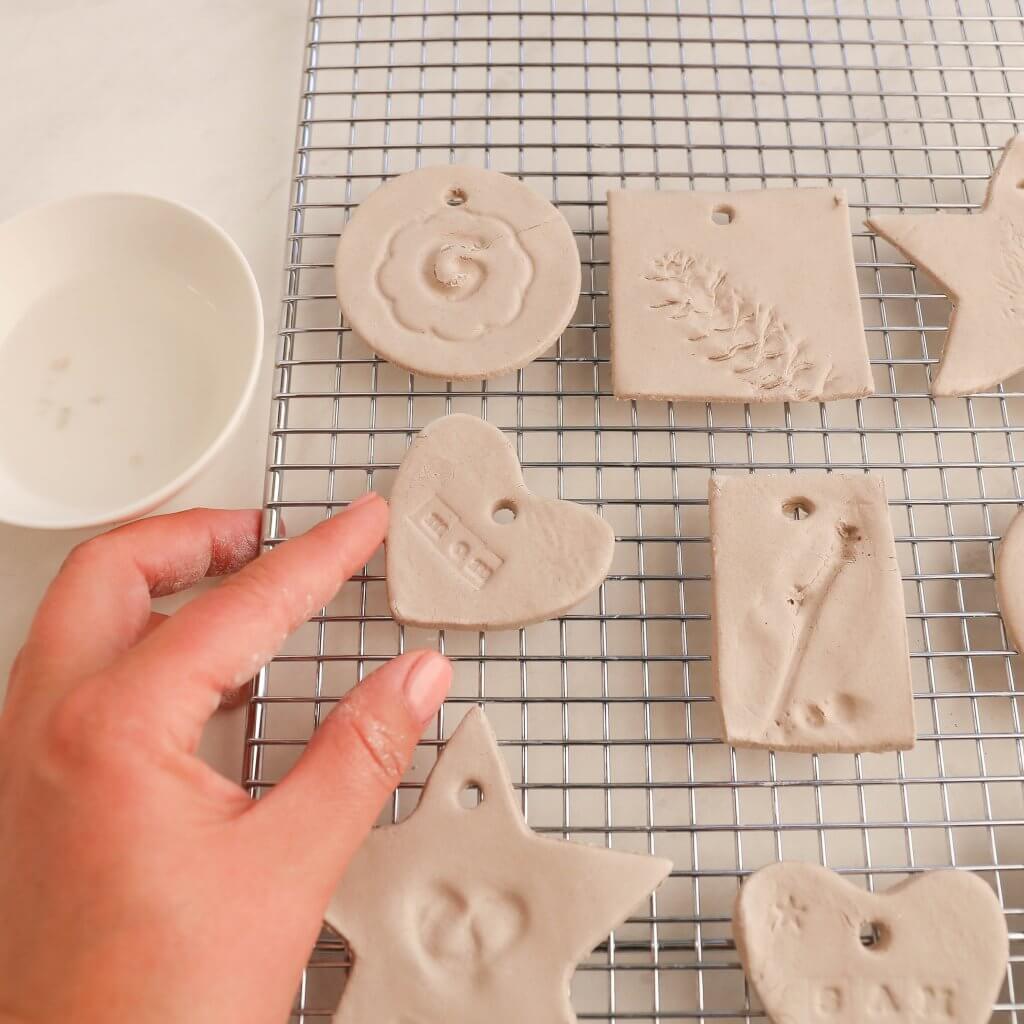
5. Carefully transfer your creations onto a cooling rack to dry for about 24 hours. If you don’t have a cooling rack, just be sure to flip them a couple of times throughout the drying process.
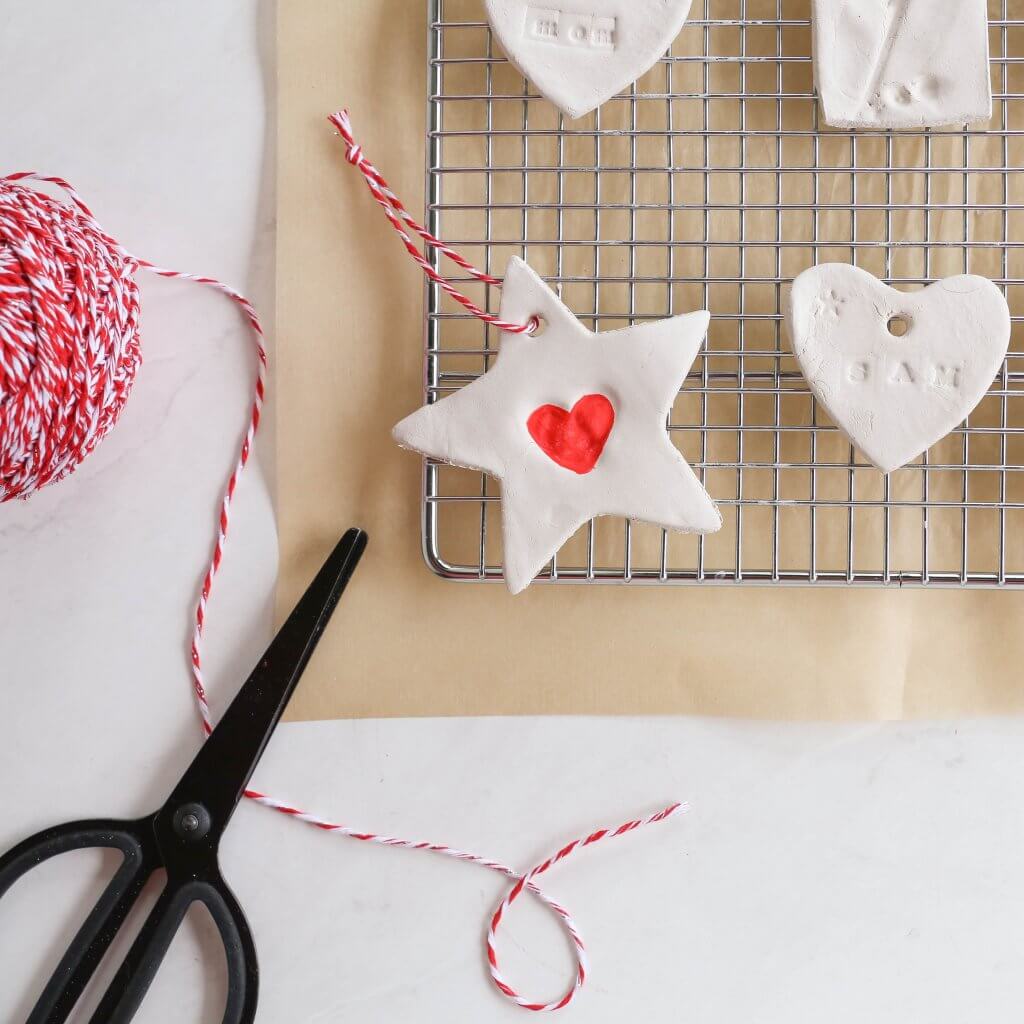
6. Once your clay pieces are completely dry, how you finish them off is completely up to you! Leave them natural for a beautiful, classic look, or add a little colour with paint or permanent marker. Tie a coordinating ribbon or piece of twine through the hole, add a wooden bead or two onto the string if you wish, and you’ve got beautiful handmade ornaments or gift tags for the holiday season.
Jen Kossowan is a kindergarten and grade one teacher and mama of two gorgeous kiddos. She’s passionate about play, loves a good DIY project, and can most often be found in her kitchen whipping up recipes that taste delicious while meeting her crunchy mama criteria. She started Mama.Papa.Bubba. on a whim in 2010 while living in the Middle East and has been sharing her recipes and activities there ever since.
mamapapabubba.com | @mamapapabubba
Article was published in The Good Life magazine.